HomeDocumentation > Developing with Eclipse > Geronimo Eclipse Plugin Usage Instructions

Geronimo Eclipse Plugin Usage Instructions

#1. To define a new server runtime:

  1. From Eclipse select File, New, Other, Server, Server, Next, Apache

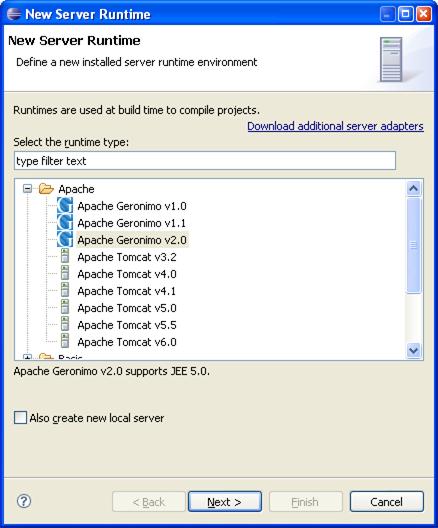
    At this point you must see the Apache Geronimo v2.0 server selection in the New Server Runtime dialog (as below) or the Geronimo Eclipse Plugin was not installed correctly


  2. Select Apache Geronimo v2.0 server, Next, then Enter to display the New Server dialog (as below):


  3. If you want to download the server from this dialog:
    • Enter the directory where you want the server installed

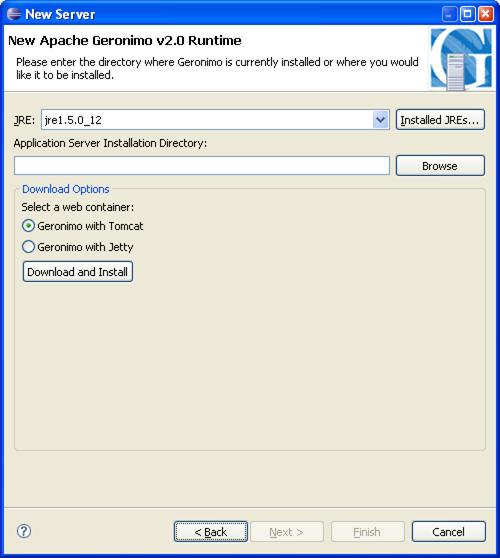
      Make sure the directory already exists (e.g., c:\temp)

    • Then select either the Geronimo with Tomcat or the Geronimo with Jetty radio button, then click the Download and Install button. After a confirmation message, your selected server should download and unzip (it takes a few minutes).
    • Then select Next, Next, Next, Finish

  4. If you have already downloaded the server:
    • Enter the directory where you have the server installed
    • Then select Next, Next, Next, Finish

  5. Now in the Java EE perspective you should see the Apache Geronimo v2.0 server (as below) that you can now start in Eclipse (either right-click on it and select start or select the little green and white start icon on the far right of the server pane).


  6. You should then see the console and the familiar server startup messages.


  7. Right-click on the server and select Launch Geronimo Console to bring up an Geronimo Console browser window in Eclipse.


#2. To deploy an application:

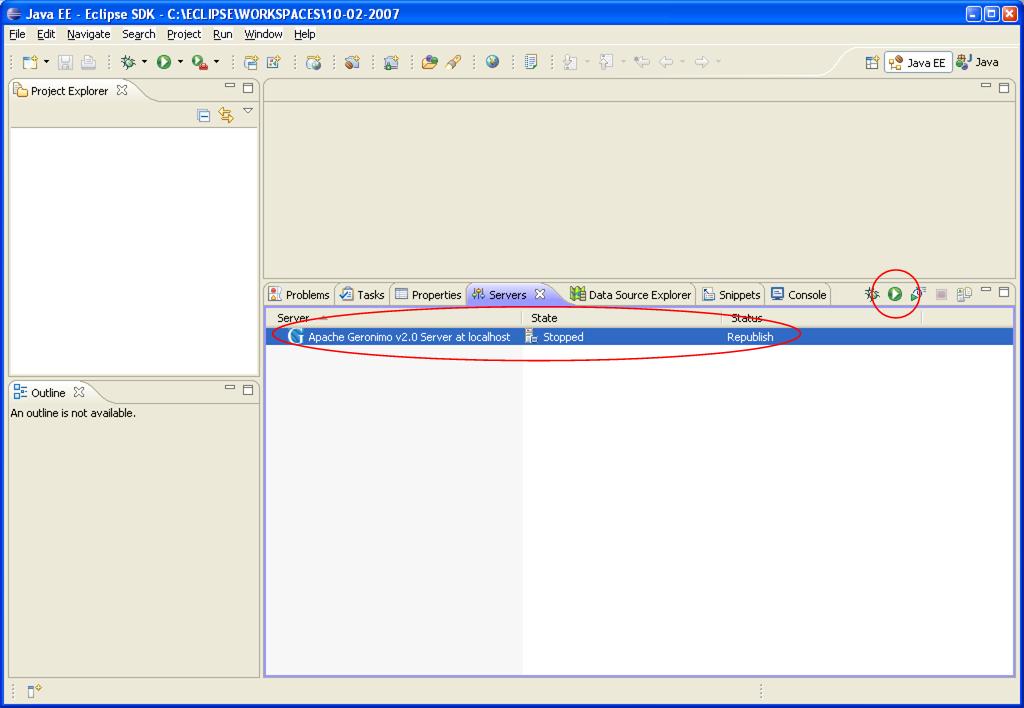
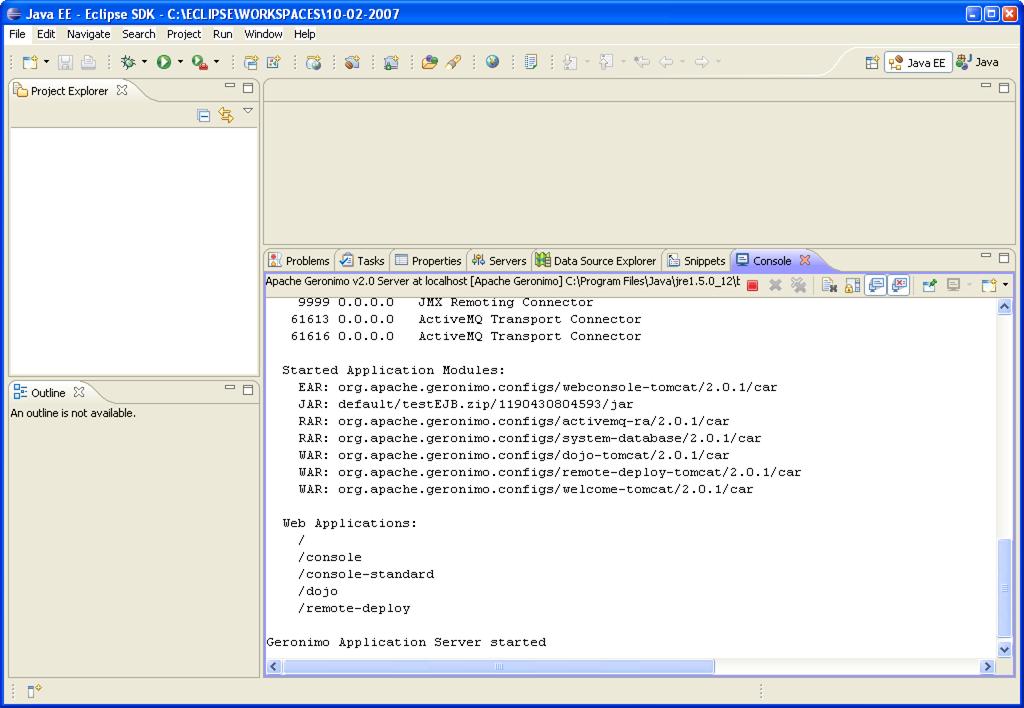
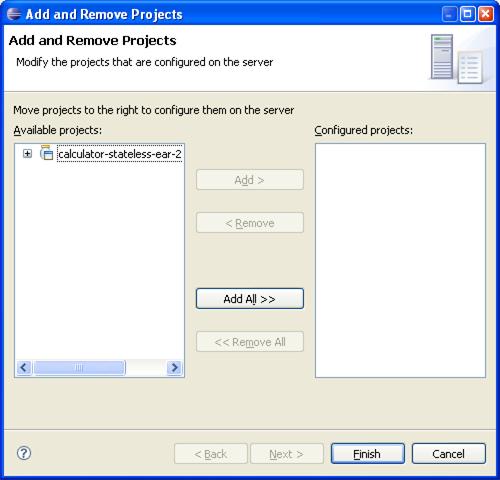
After you've created a project that is targeted for Geronimo 2.0.1, the next step is to deploy your application onto the server. To do this, you must first define a new server (see #1 above). Now you can right click on the server and select Add-Remove" projects. This dialog can be used to associate the project(s) in your Eclipse workspace to the given server by selecting the project(s) and then clicking the Add > or Add All>> button and then Finish. If the server is already started, your application will deploy. If stopped, then start your server by clicking the green and white start icon and the server will be started and afterwards your application will be deployed.