HomeDocumentation > Developer's guide > Apache Geronimo Development Tools Project > How to install Geronimo Eclipse Plugin v2.1.7
{scrollbar}

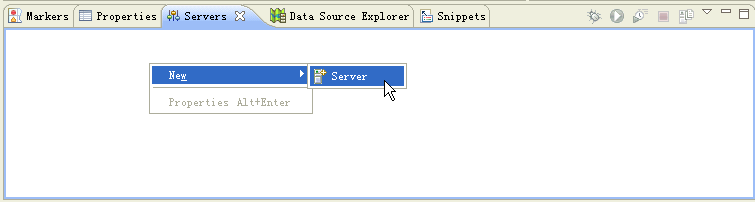
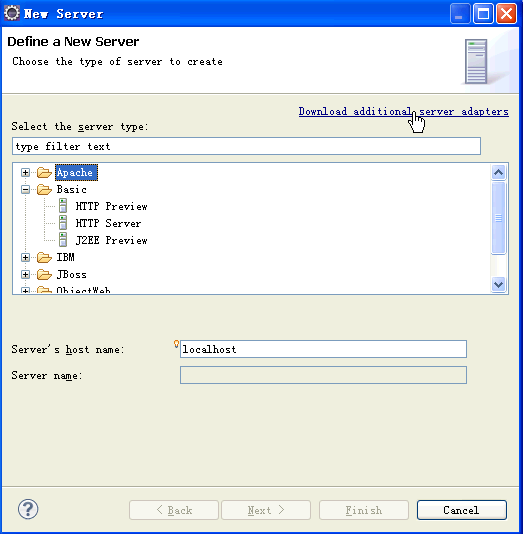
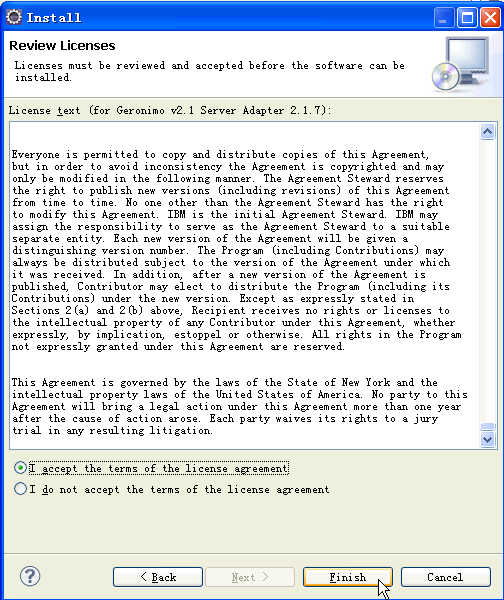
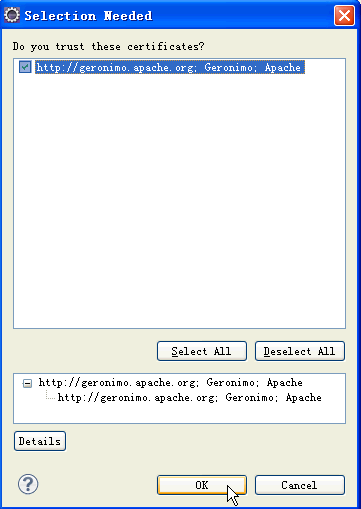
We will be using Eclipse Helios and Sun JDK 6.0+ for the illustration. Geronimo Eclipse Plugin (GEP) can be installed using the following options:

This page describes how to install the current release of the GEP. For information about installing previous releases, see

titletrue

or this page for other releases.

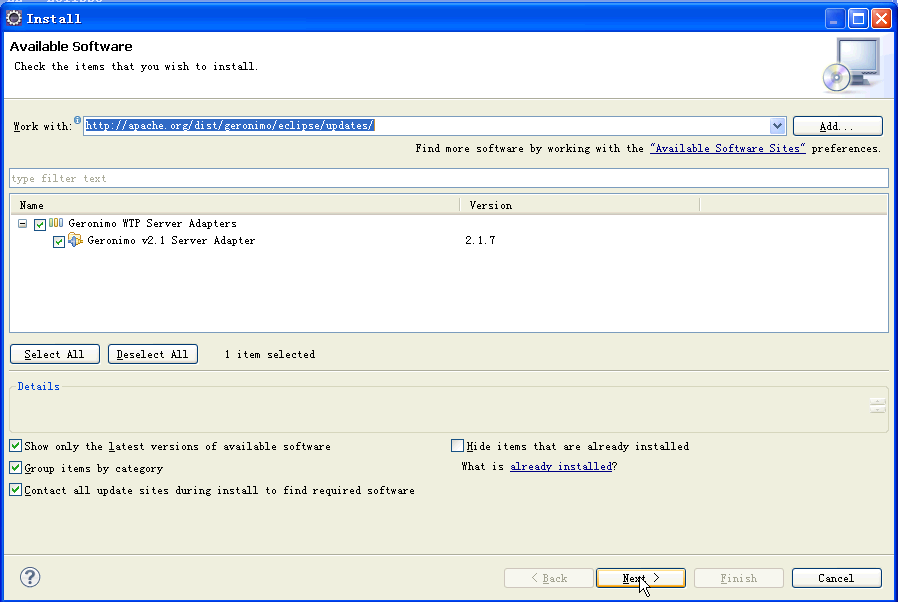
Note that with v2.1.7, the v2.1 Geronimo server adapter feature provides server adapters for both the v2.0.x and v2.1.x Geronino servers. Previously, v2.0.x and v2.1.x server adapaters were provided by separate features. Partly to simplify things, these features were combined into one.

Prerequisites Prereqs

  • Java J2SE 1.6.0 or greater

See PLUGIN_RELEASE-NOTES-2.1.7.txt for additional details.
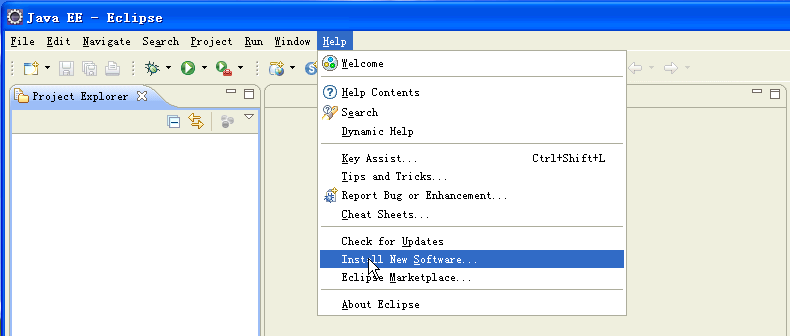
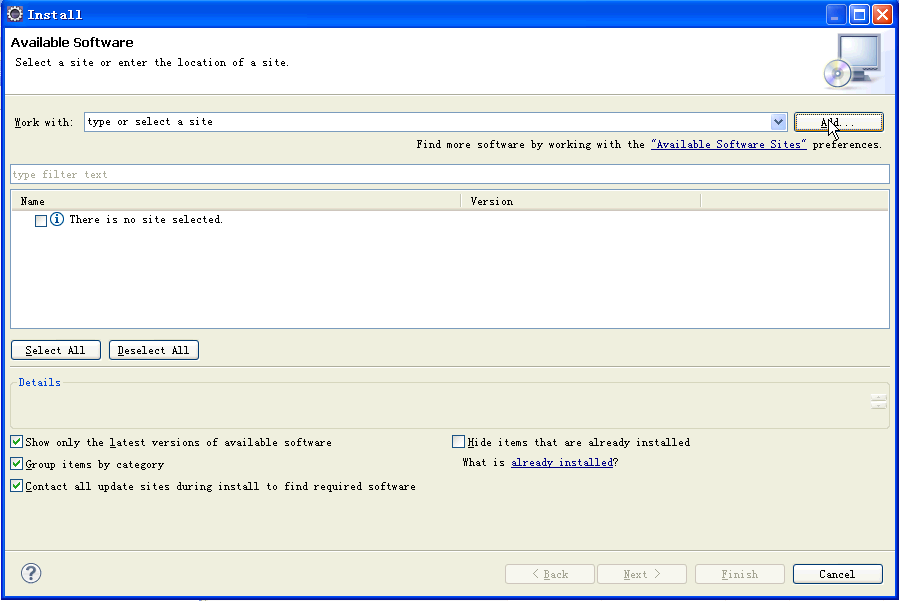
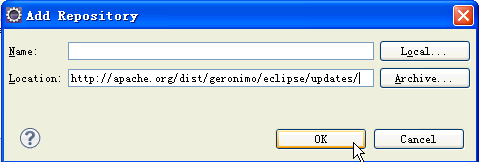
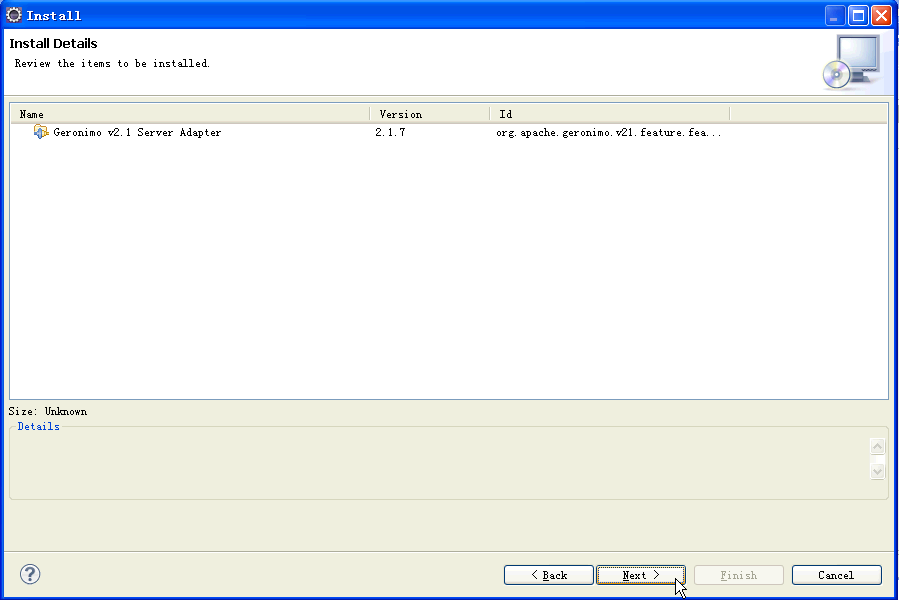
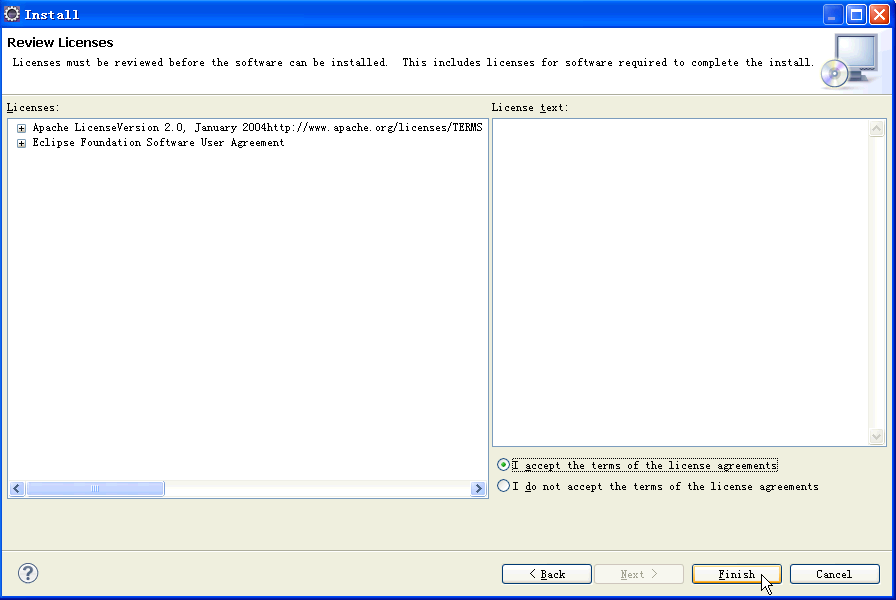
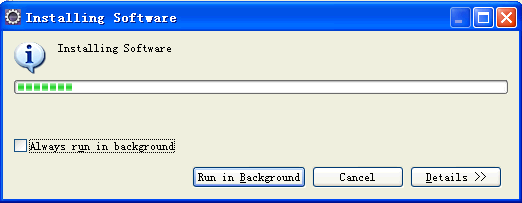
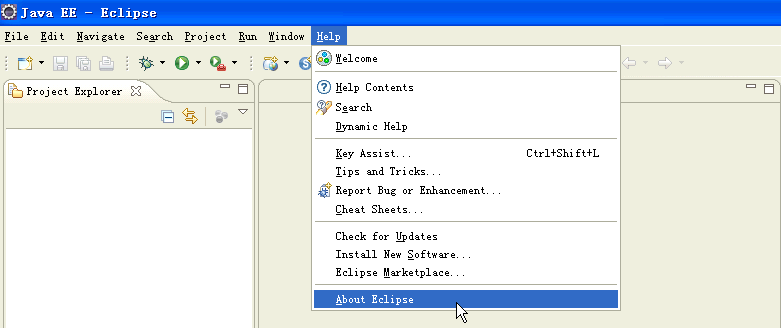
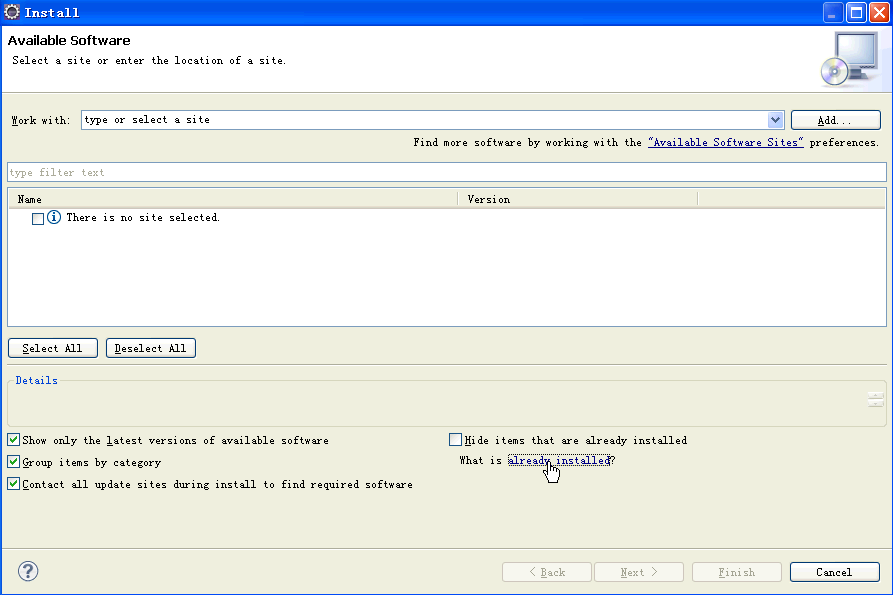
Installing GEP within WTP

  1. Once you have all the #Prerequisites installed, launch Eclipse from <Eclipse_Home>/eclipse.
  2. By default Eclipse will be launched with Java EE perspective.
  3. Select the servers tab as shown in the figure and select New->Server.


  4. On the next screen select Download Additional Server Adapters as shown in the figure.


  5. Select Geronimo V2.1 Server Adapter v2.1.7 adapter and select Next.


  6. Accept the license agreement and select Finish.


  7. Next screen will ask for confirmation. Select OK. Once done Geronimo V2.1.7 server adapter will be downloaded and installed.


  8. During the installation, a Selection Needed window will pop up. Click the box of the certification that you trust and select OK to continue the installation


  9. Once the adapter is installed you will be prompted to restart the server. Select Restart Now.


Installing GEP using Eclipse update manager

(star) A video desktop demonstration of Installing the Apache Geronimo Eclipse Plugin with the Eclipse Update Manager is available.

  1. Once you have all the prerequisites installed. Launch Eclipse from <Eclipse_Home>/eclipse.
  2. By default Eclipse will be launched with Java EE perspective.
  3. Select Help->Install New Software... from the menu.


  4. On the next screen select Add... to add repositories.


  5. Copy and paste the following site to the Add Repository window and Select OK.


    html http://apache.org/dist/geronimo/eclipse/updates/

  6. Expand http://apache.org/dist/geronimo/eclipse/updates/ and select Geronimo v2.1 Server Adapter v2.1.7. Select Next.


  7. Wait a few seconds while Eclipse resolves dependencies. Once done, the Install window will pop up. Select Next


  8. Accept the license and Select Finish.


  9. Installation will start and will take a few minutes. A progress window will display the jars being installed.


  10. During the installation, a Selection Needed window will pop up. Click the box of the certification that you trust and select OK to continue the installation


  11. Once GEP is installed you will be prompted to restart. Select Restart Now.

Manual Installation

Using updatesite.zip

  1. Download the package geronimo-eclipse-plugin-2.1.7-updatesite.zip from http://apache.org/dist/geronimo/eclipse/2.1.7/.
  2. Once done, unzip the package to a directory on your machine.
  3. Follow the instructions in #Installing GEP using Eclipse update manager section. When adding an update site in step 5, choose Local, and navigate to the directory where you unzipped the updatesite.zip package in the previous step.

Using deployable.zip

  1. Download the package geronimo-eclipse-plugin-2.1.7-deployable.zip from http://apache.org/dist/geronimo/eclipse/2.1.7/.
  2. Once done, unzip the package to your eclipse installation directory.
  3. Restart eclipse with the -clean option.

Verify GEP installation

  1. Select Help->About Eclipse Platform.


  2. You can see a G icon in the About Eclipse Platform. This confirms the successful installation of GEP. Click the icon.


  3. On the next screen you can view details- License, Plug-in-Details and set the Columns of the table being displayed.

Uninstalling GEP

You can cleanly uninstalled GEP only if you have installed it cleanly. To do so, install your GEP by using Eclipse update manager. If your GEP was installed within WTP, reinstall it with Eclipse update manager to update some meta information so that a clean uninstallation can be preformed with the following steps:

  1. Select Help->About Eclipse Platform.


  2. Select Installation Details.


  3. On the next screen, select Geronimo v2.1 Server Adapter v2.1.7 and then Uninstall...


  4. An Uninstall window pops up displaying the details of the Geronimo v2.1 Server Adapter. Review the information and select Finish.


  5. Uninstallation starts and will take a few minutes. An Uninstalling Software window displays the uninstallation progress.


  6. Once GEP is uninstalled you will be prompted to restart. Select Restart Now.

Uninstalling GEP using Eclipse update manager

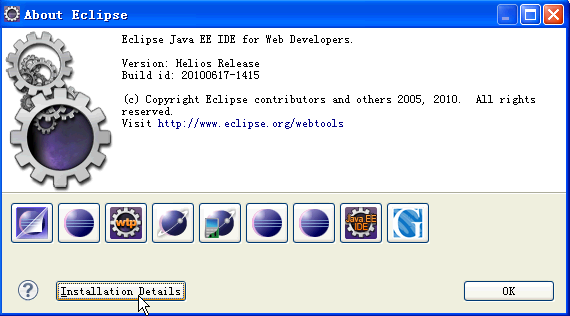
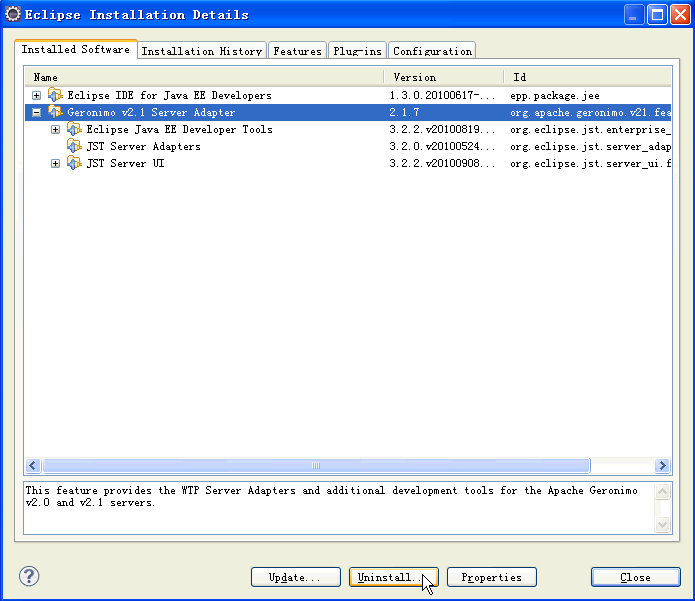
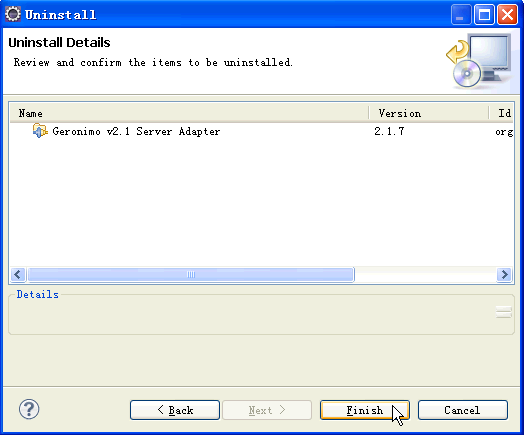
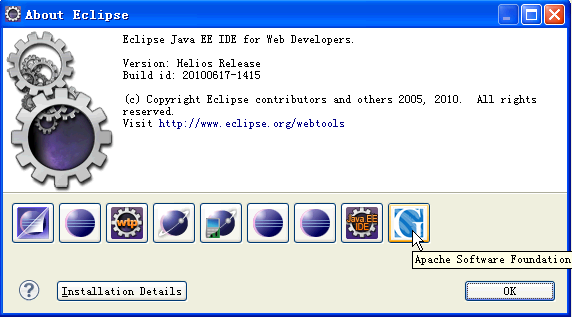
You can also uninstall GEP by using Eclipse update manager with the following steps:

  1. Select Help->Install New Software... from the menu.


  2. On the next screen select What is already installed?.


  3. On the next screen, select Geronimo v2.1 Server Adapter v2.1.7 and then Uninstall...


  4. An Uninstall window pops up displaying the details of the Geronimo v2.1 Server Adapter. Review the information and select Finish.


  5. Uninstallation starts and will take a few minutes.
  6. Once GEP is uninstalled you will be prompted to restart. Select Restart Now.

Uninstall does not work well on Ganymede and Galileo, especially for GEP. It will uninstall GEP, but then you can't reinstall it, as it doesn't really get uninstalled. The only way to reinstall GEP in Ganymede is to reinstall Ganymede itself! It's the same for Galileo. See Eclipse Bugzilla 244935 for details, and hopefully a fix soon!