|
|
| Home > Documentation > Developer's guide > Development environment > Using Eclipse XML tools in Apache Geronimo |
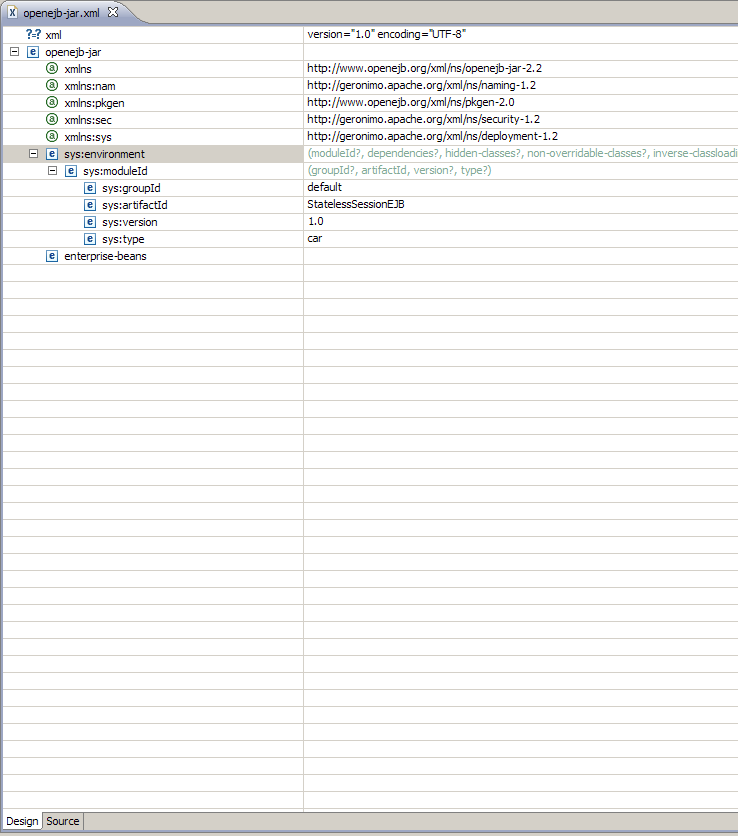
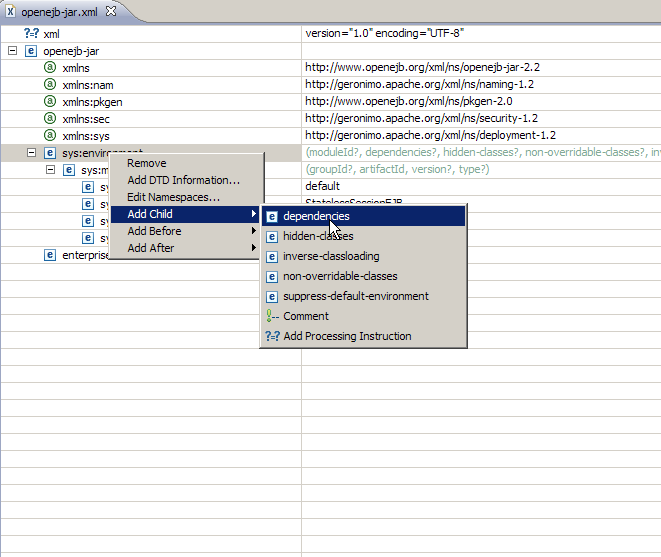
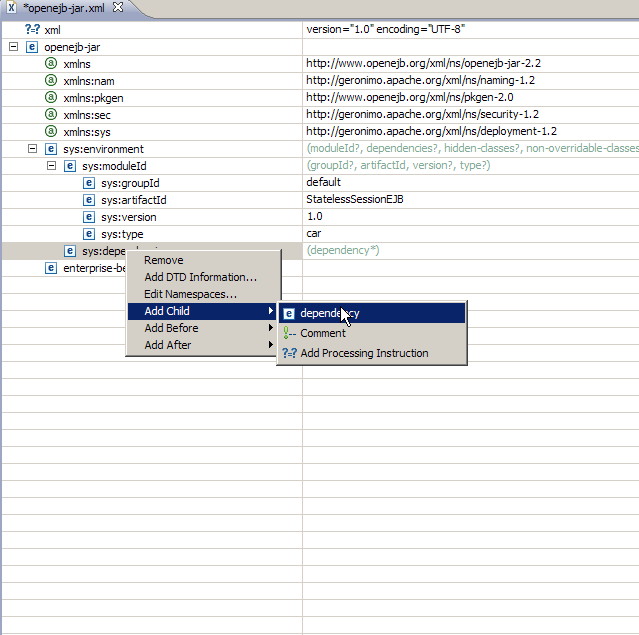
This tutorial will demonstrate on the usage of Eclipse XML tools to generated Geronimo specific deployment plans.
To run this tutorial, as a minimum you will be required to have installed the following prerequisite software.
Details on installing eclipse are provided in the Development environment section. This tutorial is organized in the following sections:
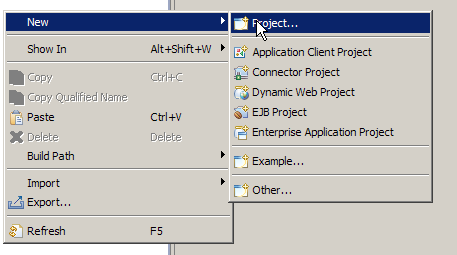
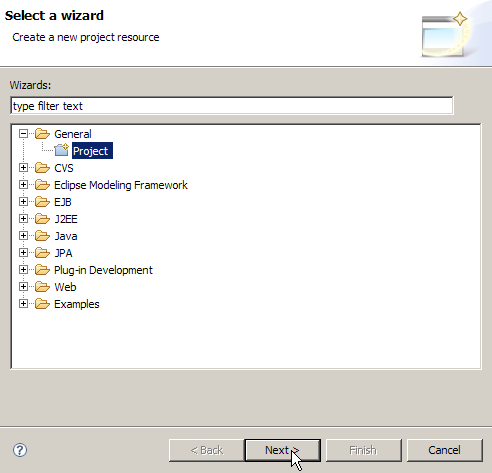
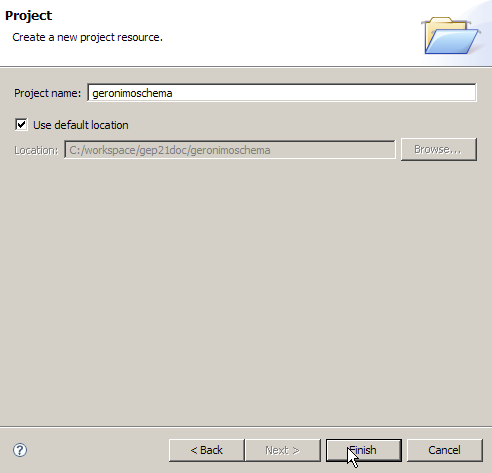
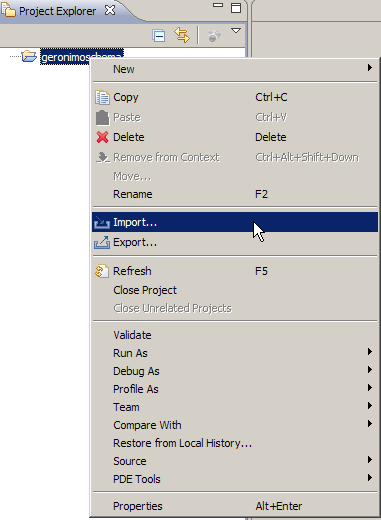
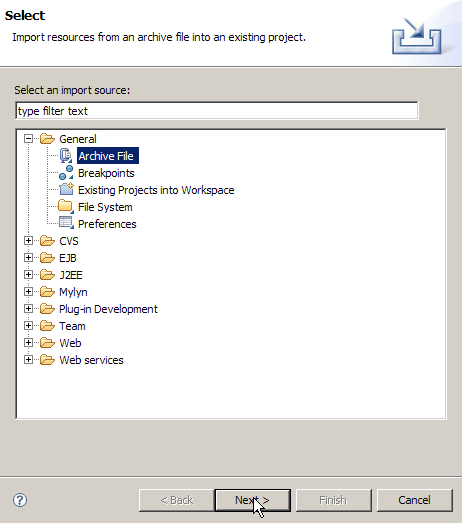
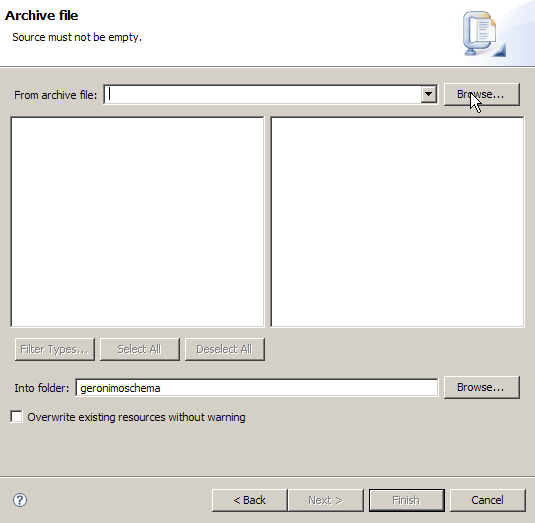
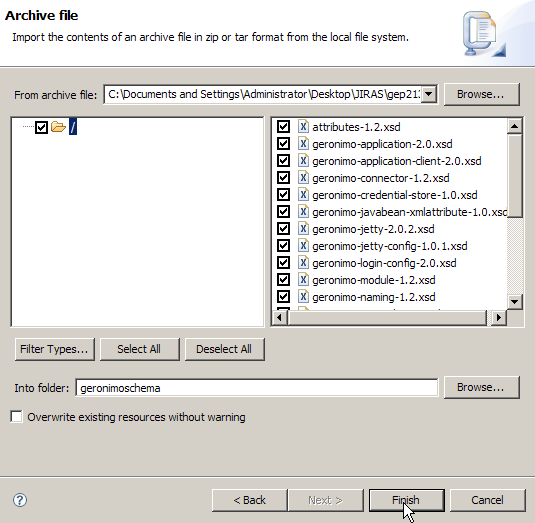
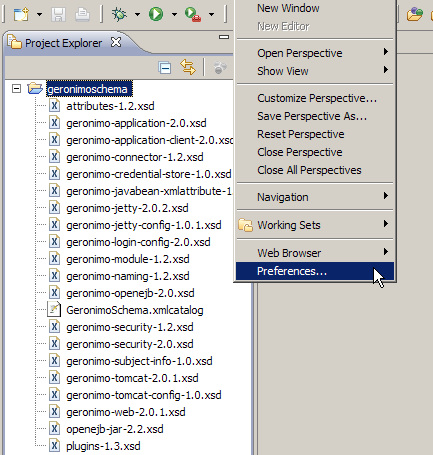
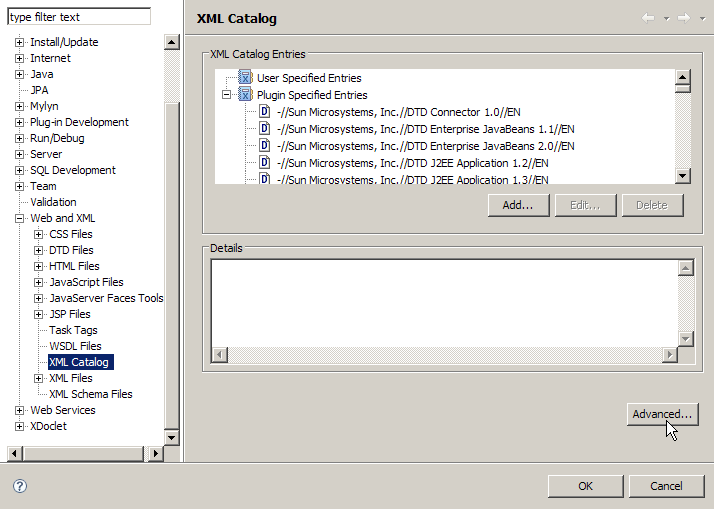
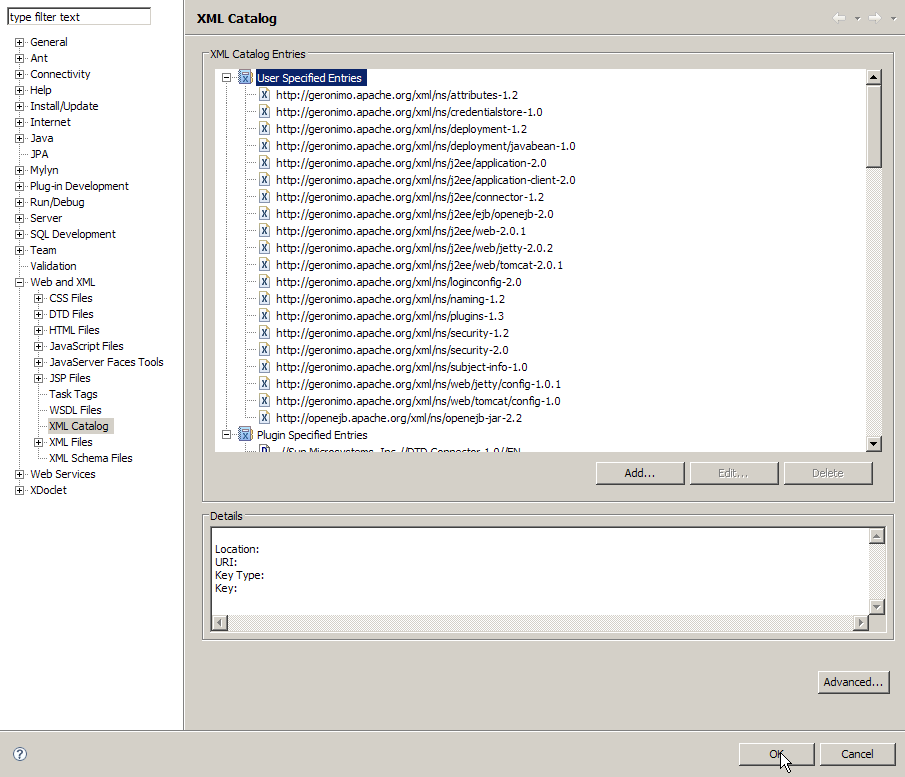
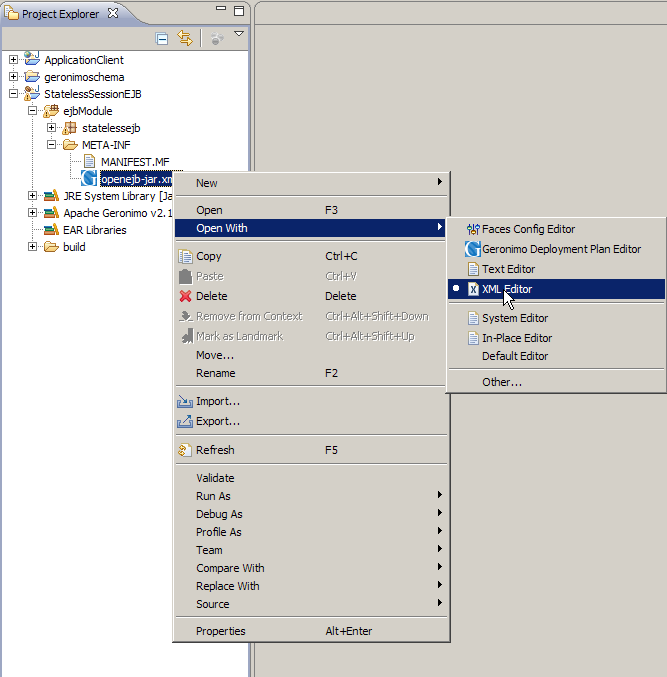
This tutorial will take you with the following steps:
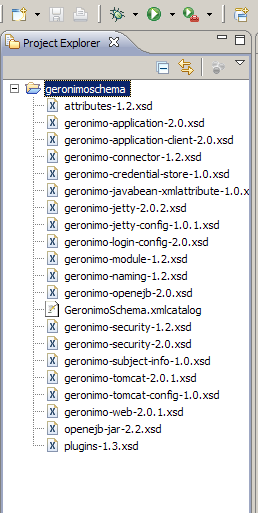
<?xml version="1.0" encoding="UTF-8"?>
<catalog xmlns="urn:oasis:names:tc:entity:xmlns:xml:catalog">
  <uri name="http://geronimo.apache.org/xml/ns/attributes-1.2" uri="platform:/resource/geronimoschema/attributes-1.2.xsd"/>
  <uri name="http://geronimo.apache.org/xml/ns/j2ee/application-2.0" uri="platform:/resource/geronimoschema/geronimo-application-2.0.xsd"/>
  <uri name="http://geronimo.apache.org/xml/ns/j2ee/application-client-2.0" uri="platform:/resource/geronimoschema/geronimo-application-client-2.0.xsd"/>
  <uri name="http://geronimo.apache.org/xml/ns/j2ee/connector-1.2" uri="platform:/resource/geronimoschema/geronimo-connector-1.2.xsd"/>
  <uri name="http://geronimo.apache.org/xml/ns/credentialstore-1.0" uri="platform:/resource/geronimoschema/geronimo-credential-store-1.0.xsd"/>
  <uri name="http://geronimo.apache.org/xml/ns/deployment/javabean-1.0" uri="platform:/resource/geronimoschema/geronimo-javabean-xmlattribute-1.0.xsd"/>
  <uri name="http://geronimo.apache.org/xml/ns/j2ee/web/jetty-2.0.2" uri="platform:/resource/geronimoschema/geronimo-jetty-2.0.2.xsd"/>
  <uri name="http://geronimo.apache.org/xml/ns/web/jetty/config-1.0.1" uri="platform:/resource/geronimoschema/geronimo-jetty-config-1.0.1.xsd"/>
  <uri name="http://geronimo.apache.org/xml/ns/loginconfig-2.0" uri="platform:/resource/geronimoschema/geronimo-login-config-2.0.xsd"/>
  <uri name="http://geronimo.apache.org/xml/ns/deployment-1.2" uri="platform:/resource/geronimoschema/geronimo-module-1.2.xsd"/>
  <uri name="http://geronimo.apache.org/xml/ns/naming-1.2" uri="platform:/resource/geronimoschema/geronimo-naming-1.2.xsd"/>
  <uri name="http://geronimo.apache.org/xml/ns/j2ee/ejb/openejb-2.0" uri="platform:/resource/geronimoschema/geronimo-openejb-2.0.xsd"/>
  <uri name="http://geronimo.apache.org/xml/ns/security-1.2" uri="platform:/resource/geronimoschema/geronimo-security-1.2.xsd"/>
  <uri name="http://geronimo.apache.org/xml/ns/security-2.0" uri="platform:/resource/geronimoschema/geronimo-security-2.0.xsd"/>
  <uri name="http://geronimo.apache.org/xml/ns/subject-info-1.0" uri="platform:/resource/geronimoschema/geronimo-subject-info-1.0.xsd"/>
  <uri name="http://geronimo.apache.org/xml/ns/j2ee/web/tomcat-2.0.1" uri="platform:/resource/geronimoschema/geronimo-tomcat-2.0.1.xsd"/>
  <uri name="http://geronimo.apache.org/xml/ns/web/tomcat/config-1.0" uri="platform:/resource/geronimoschema/geronimo-tomcat-config-1.0.xsd"/>
  <uri name="http://geronimo.apache.org/xml/ns/j2ee/web-2.0.1" uri="platform:/resource/geronimoschema/geronimo-web-2.0.1.xsd"/>
  <uri name="http://openejb.apache.org/xml/ns/openejb-jar-2.2" uri="platform:/resource/geronimoschema/openejb-jar-2.2.xsd"/>
  <uri name="http://geronimo.apache.org/xml/ns/plugins-1.3" uri="platform:/resource/geronimoschema/plugins-1.3.xsd"/>
 </catalog>

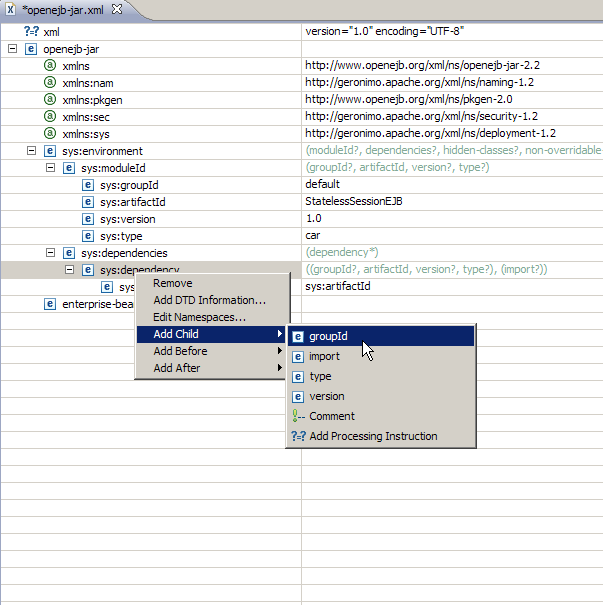
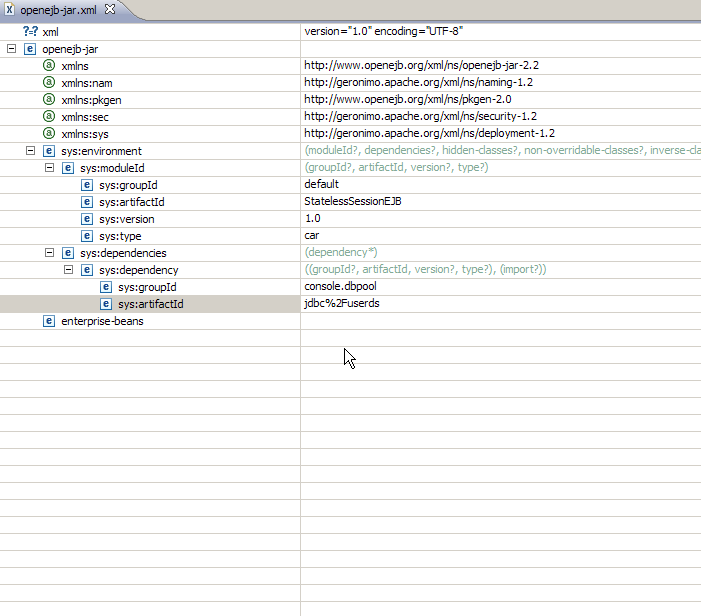
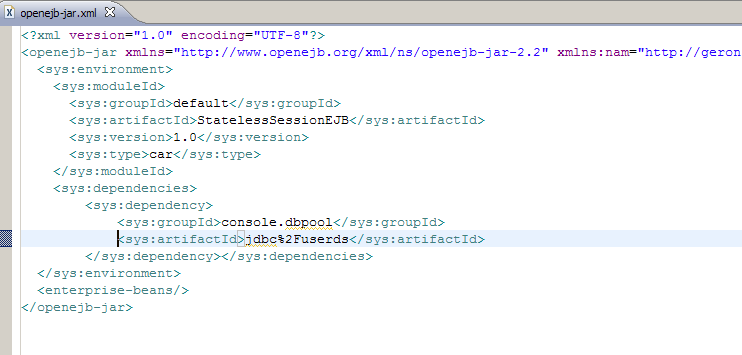
This completes the illustration of using Eclipse xml tools for Apache Geronimo.
|
|
Privacy Policy - Copyright © 2003-2011, The Apache Software Foundation, Licensed under ASL 2.0. |