|
|
| Home > Documentation > Installing and running > Getting and installing Geronimo > Building Geronimo from source > Building Geronimo from Eclipse |
The following instructions will enable you to get Geronimo into the Eclipse workspace as an eclipse project. For purposes of this discussion the development OS is Windows. Please adjust these instructions for your environment.
Before getting started, you have to intall the following software:
You could import all the geronimo projects or subprojects in the workspace. But a more efficient way is to import only the modules that you want to work on.
You are advised to import all the modules the first time you work with Geronimo builds in Eclipse.
Generate the Eclipse projects for geronimo sub-projects by invoking the following command from Geronimo top directory:
mvn -o eclipse:eclipse
Note:
The very first time you must omit the "-o" parameter so that it will download the maven-eclipse-plugin.
mvn eclipse:eclipse
It is possible to import only a few modules in the workspace by running the above command from each of the modules directory. In this case the changes made in one module will not be visible to other modules without rebuilding the modified module with mvn.
Useful Information
It is possible edit .classpath files so that the changes made in one module are visible to all other modules in the workspace instantly. This is meant only for advanced users.
If you are planning to modify a single geronimo module, you can import only that module in the workspace by running the following commands:
cd modules\a_module  or  cd maven-plugins\a_plugin
mvn -o eclipse:eclipse
After you create Eclipse projects for Geronimo, it is time you import these projects to the Eclipse workspace.
M2_REPO and set it to your maven2 repository directory. On linux this directory is usually located at
~/.m2/repository
"%USERPROFILE%\.m2\repository"
Note: If you are working on a builder module, for example. geronimo-tomcat6-builder, you must add xmlbeans classes to the build path.
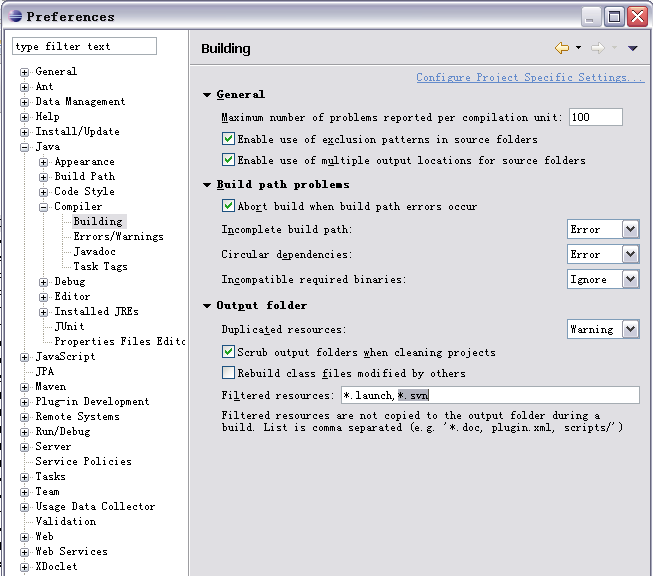
.svn to the *Filtered Resources field.
You can build each Geronimo module by right clicking on the project, and selecting mvn options.
Info:
[built-in], and click on Edit. Under Indentation select Tab policy as "space only". Enter a new name for this profile and click OK.|
|
Privacy Policy - Copyright © 2003-2011, The Apache Software Foundation, Licensed under ASL 2.0. |