HomeDocumentation > Apache Geronimo Development Tools Project > How to Develop Geronimo Eclipse Plugin in Eclipse
  1. Build GEP using Maven. See How to Build Geronimo Eclipse Plugin from Source for details. The projects are now ready to be imported into your Eclipse workspace.
  2. Launch a clean installation of Eclipse Helios SR1 (See this page for details).
  3. Follow these steps blow to complete the configuration of Eclipse for GEP development:

Set Java Installed JRE to Java 6

  1. Select Window->Preferences
  2. Select Java->Installed JREs.
  3. Ensure you have a Java 6 JRE selected.
  4. Select Java->Compiler.
  5. Ensure you have Compiler compliance level 1.6 selected.
    • Doing this avoids about 8 errors like:
      The method getServerPluginManager() of type GeronimoServer must override a superclass method
      errors, and should be done to match the Java 6 JRE we are using.

Set the ClassPath variable

  1. Select Window->Preferences as ahown in the figure.


  2. Select Java->Build Path->Classpath Variables. Select New.


  3. Enter the location of your m2repo. My m2repo is located at C:/m2repo. Select Ok.
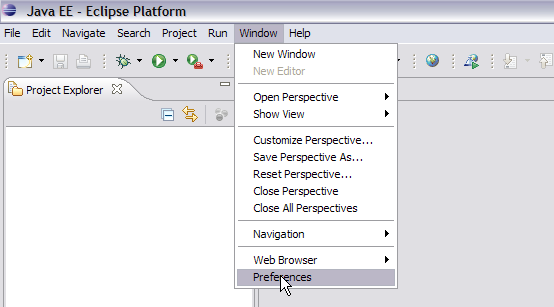
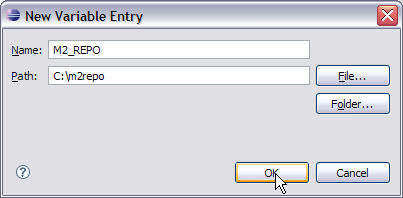
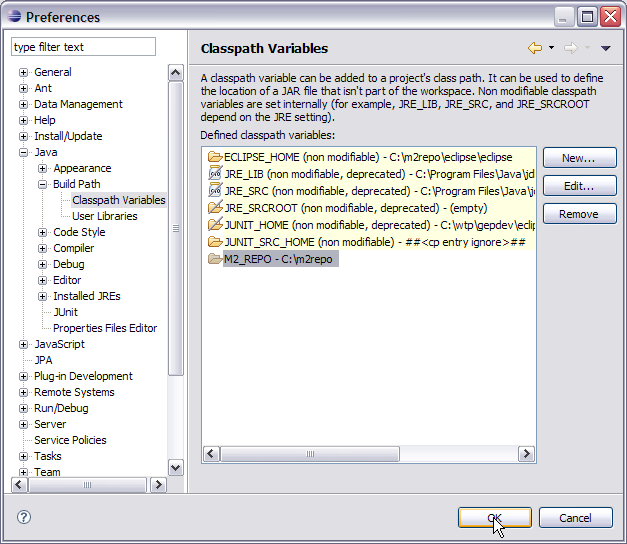
    *Name:* M2_REPO
    *Path:* C:\m2repo


  4. Once done you can see M2_REPO added to your list of ClassPath variables.


Set the target platform

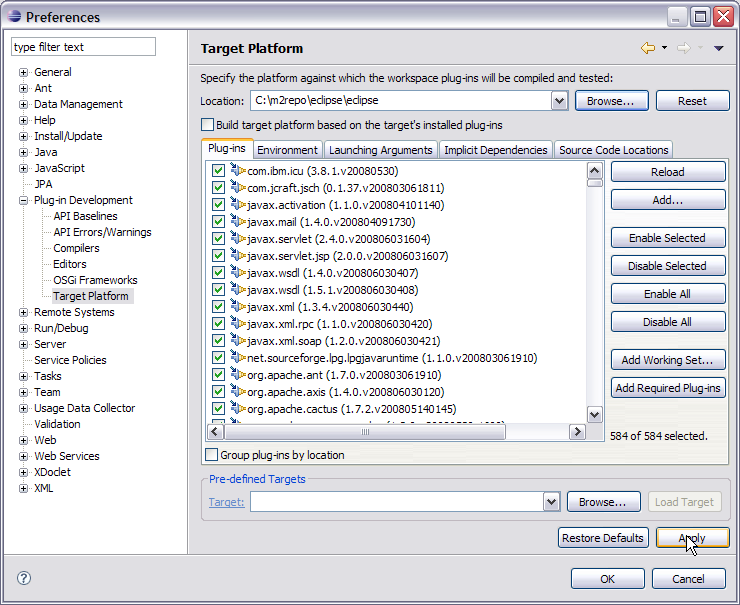
An excerpt from the Eclipse help about Target Platform says "Target Platform refers to the platform against which you are developing and testing your plug-ins. The target platform encompasses the location of the target, the list of plug-ins constituting the target, the target environment and launching arguments."
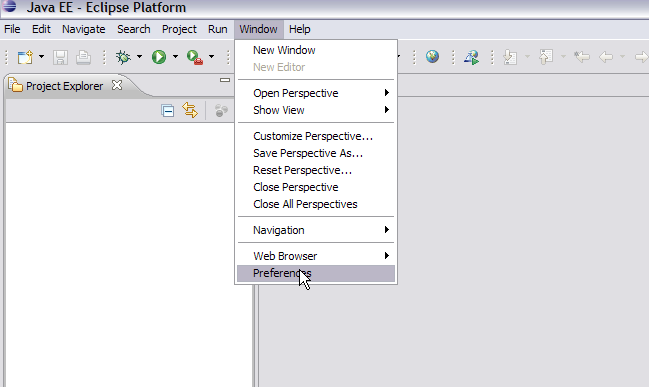
The following steps need to be performed while configuring the target platform for GEP development.

  1. Select Window->Preferences.


  2. On the next screen select Plug-in Development->Target Platform. Browse to <Local_M2_Repo>/eclipse/eclipse. Select Apply.
    • Note: menus change in Helios SR1. Use these steps for Helios SR1:
    1. Click Add... target platform
    2. Next
    3. Add...
    4. Select Directory, click Next
    5. Put your <M2_REPO>/eclipse/eclipse in location. (You can use Browse...)
    6. Click Finish
    7. Give is a name like M2_REPO>/eclipse/eclipse, and click Finish.
    8. Make sure your new platform is selected.


  3. Select Ok. This will set up the target platform for our GEP development.


  4. If you are going to use the free OSGi tooling available from http://www.ibm.com/developerworks/rational/downloads/10/rationaldevtoolsforosgiapplications.html,
    then download the plugins from the link on that page (currently http://public.dhe.ibm.com/ibmdl/export/pub/software/rational/OSGiAppTools),
    and add them to your target platform by location.

Import the source code in your Eclipse Workspace

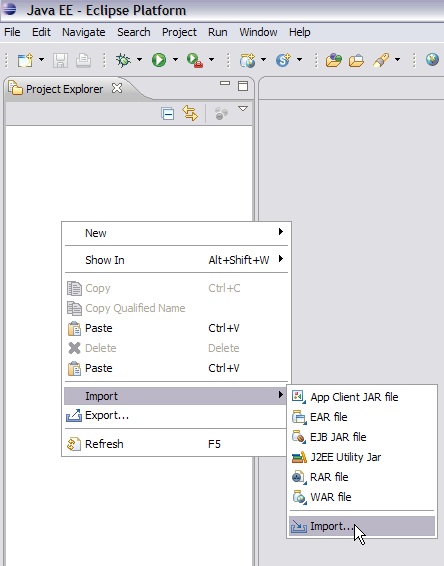
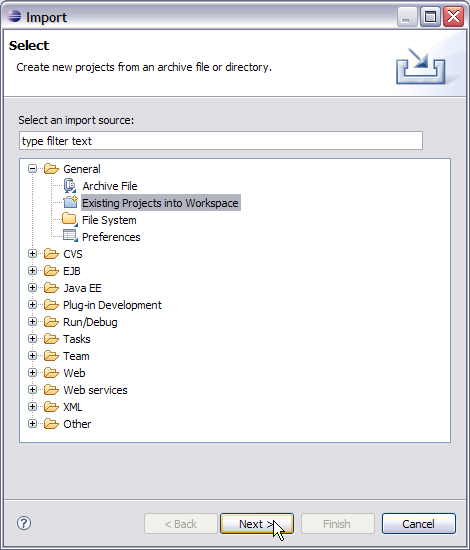
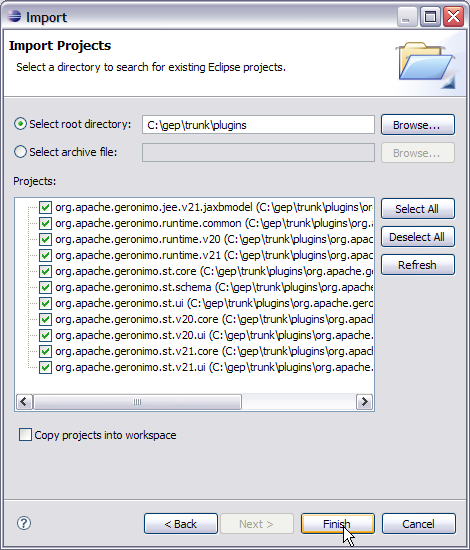
Next step is to import the source code for plug-ins to your workspace. This is the code with which you will be playing all the time.

  1. Right Click under Project Explorer and Select Import->Import...


  2. On the next window select General->Existing Projects into Workspace. Select Next.


  3. On the import projects window Browse to <GEP_Source_Home>/trunk. Select Finish.


    In case there are some errors try fixing those (consider it as your first step towards working with GEP! (smile) ) or else use the Geronimo mailing lists. See How to open a bug for Geronimo Eclipse Plugin for details.

Run and Debug Configurations

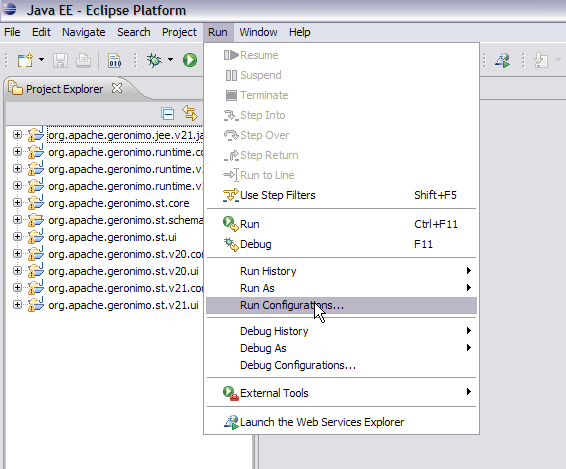
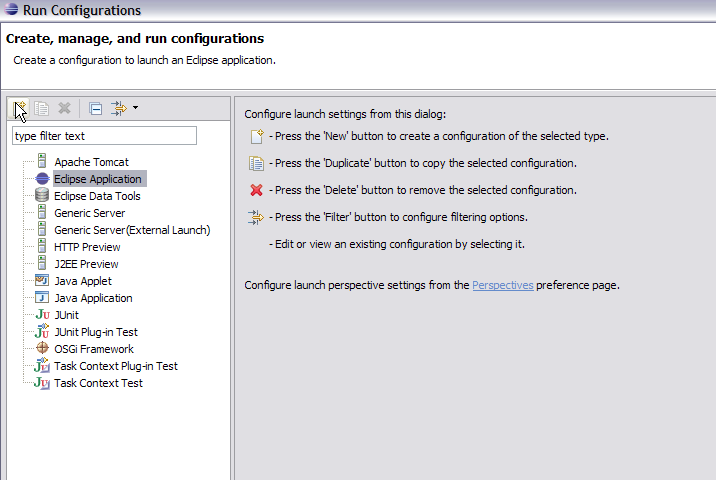
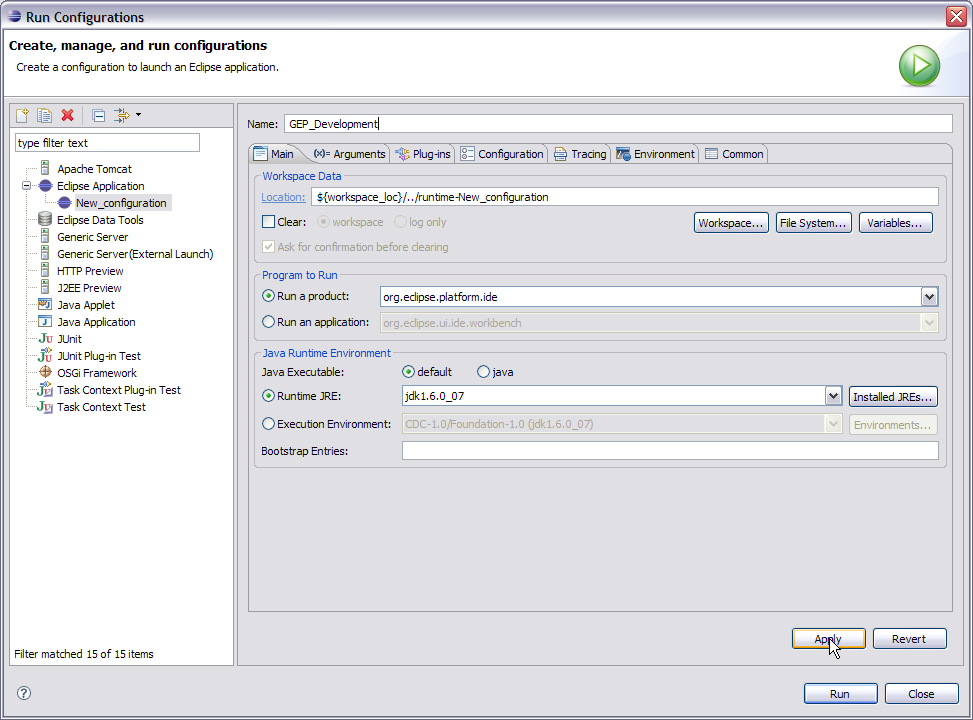
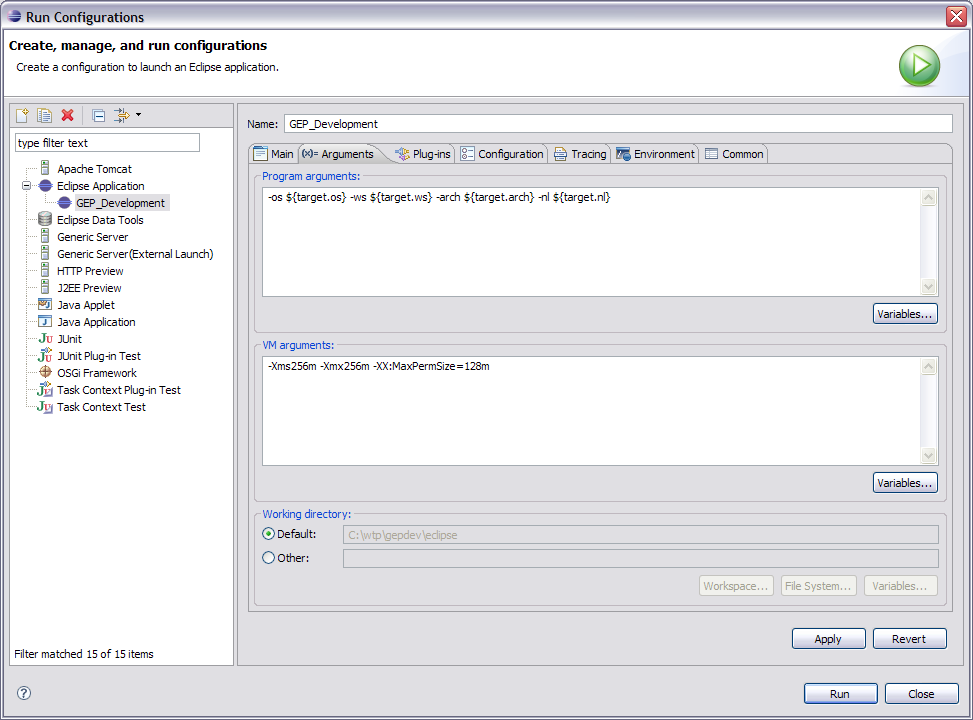
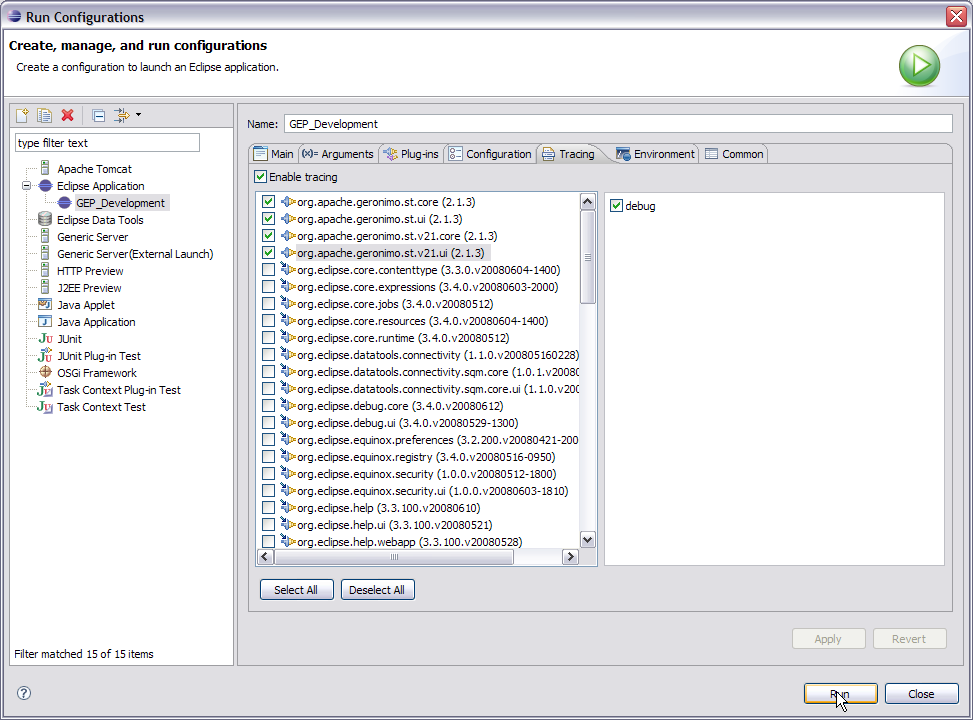
Before you can start running and debusing your code, set up your debug and run configurations.

  1. Select Run->Run Configurations.


  2. On the Run Configurations window Select Eclipse Application and Select New button on the top left.


  3. Name the new configuration as GEP_DEVELOPMENT. Also, change the workspace location name from runtime-New_location to runtime-GEP_Development. Select Apply.


  4. Next select the Arguments tab for your GEP_Development run configuration and set the VM arguments as follows
    -Xms256m -Xmx256m -XX:MaxPermSize=128m


  5. Next select the tracing tab and select the top most 4 jars. See figure below. Select Apply and Run.


  6. This will launch a new Eclipse window which is nothing but Eclipse + <Your_Plugin_Code>. You can modify the code and each time you can launch your Eclipse Configuration to test the modifications in code.


  7. TO Debug the code change to Debug Perspective in eclipse and Select Run->Debug Configurations. Select Debug.