|
|
| Home > Documentation > Developing with Eclipse > Developing Geronimo in Eclipse |
The following instructions will enable you to get Geronimo into the Eclipse 3.2 workspace as an eclipse project. You will be able use eclipse to make code changes and run Unit tests. For purposes of this discussion the development OS is Windows. Please adjust these instructions for your environment.
Install the software required for Building Apache Geronimo and follow the instructions to build Geronimo.
You could import all the geronimo projects or subprojects in the workspace. But a more efficient way is to import only the modules that you want to work on.
If you are planning to modify a single geronimo module, you can import only that module in the workspace by running the following commands:
cd modules\a_module   or   cd maven-plugins\a_plugin
mvn -o eclipse:eclipse
It is advised that the first time users import all the modules.
Generate the Eclipse projects for geronimo sub-projects by invoking the following command from the top directory:
mvn -o eclipse:eclipse
Note:
The very first time you must omit the "-o" parameter so that it will download the maven-eclipse-plugin.
mvn eclipse:eclipse
It is possible to import only a few modules in the workspace by running the above command from each of the modules directory. In this case the changes made in one module will not be visible to other modules without rebuilding the modified module with mvn.
Useful Information
It is possible edit .classpath files so that the changes made in one module are visible to all other modules in the workspace instantly. This is meant only for advanced users.
File --> Import --> +General --> Existing Projects into Workspace
Window --> Preferences --> Java --> Build Path --> Classpath Variables
~/.m2/repository
"%USERPROFILE%\.m2\repository"
<Project> --> Build Path --> Configure Build Path --> Java Build PAth --> Add Class Folder
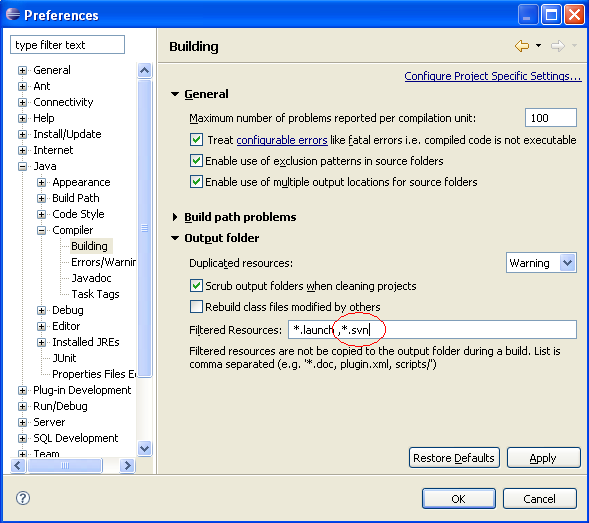
Window --> Preferences --> Java --> Compiler --> Building --> Output folder
Window --> Preferences --> Java --> Code Style --> Formatter --> Java Conventions [built-in]
You may want to import the following files and have the environment configured in a couple of clicks.
Window --> Preferences --> Java --> Code Style --> Formatter --> Import
Window --> Preferences --> Java --> Code Style --> Code Templates --> Import
This section describes how to make changes to Geronimo in Eclipse appear in the Geronimo runtime and the Eclipse debugger, also know as "round-trip debugging." Assuming you have extracted and built Geronimo and imported the source code as projects in Eclipse, source code updates to Geronimo must be built, packaged, and assembled before they will appear in the debugger. The steps are given here:
1. Update the Source Code.
Use the debugger or Java view to edit Java source code. Changes to the code should appear in the location from which you imported the project. (Items below marked with <> are local directory names. Specific examples follow the conceptual locations.) For example editing MyUpdate.java produces a change in the given local directory:
2. Update the Classes
Eclipse is normally set to automatically build Java file changes. You can also trigger project builds manually from the Eclipse Project menu or use build tools to compile the change. The build should produce changes in the following directory:
3. Update Archive Files
You will have to package your new classes and make a module snapshot JAR. If you are not using the Eclipse Maven plugin, switch to a command line window and use your build environment to run Maven.
4. Replace the Snapshot in the Geronimo Repository
Now you must take your new code snapshot and overlay the code that your Eclipse runtime uses. For example, if your runtime is pointed to <runtime>/geronimo-<assemblyName>-<version>-SNAPSHOT (e.g. c:/temp/server/geronimo-tomcat6-javaee5-2.2-SNAPSHOT), replace:
If your runtime is pointed to the build tree <runtime>/geronimo-<assemblyName>-<version>-SNAPSHOT (c:/g/server/trunk/assemblies/geronimo-tomcat6-javaee5/target/assembly), replace:
5. Restart Plugins Modules That Use the JAR
For a module such as geronimo-system, you need to restart the server. For a module like geronimo-jetty6, you'd restart Jetty and all the web apps.
6. Debug
Rerun the application or test case which use your code. You can verify your new code is in use with a temporary console println out.println( "My new code") or by placing a break point in the new code.
If you plan on contributing code or patches to the project please configure your subversion client and follow the coding conventions described here:
|
|
Privacy Policy - Copyright © 2003-2009, The Apache Software Foundation, Licensed under ASL 2.0. |