Developing the Geronimo Eclipse Plugin in Eclipse
Import Plugins into Eclipse Workspace
After building the plugins using Maven (see Geronimo Eclipse Plugin Build Instructions), the projects are then ready to be imported into your Eclipse workspace. Launch Eclipse with a clean workspace:
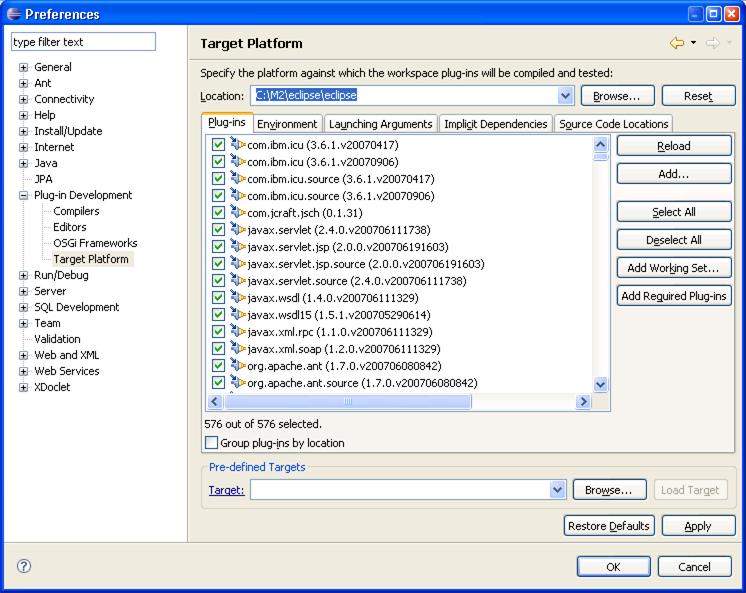
- First we'll need to set up our target platform. The target platform is the Eclipse image generated by the maven build process. In your workspace preferences select the target platform and enter the path to the generated target platform (see below). This path by default is ~/.m2/repository/eclipse/eclipse.
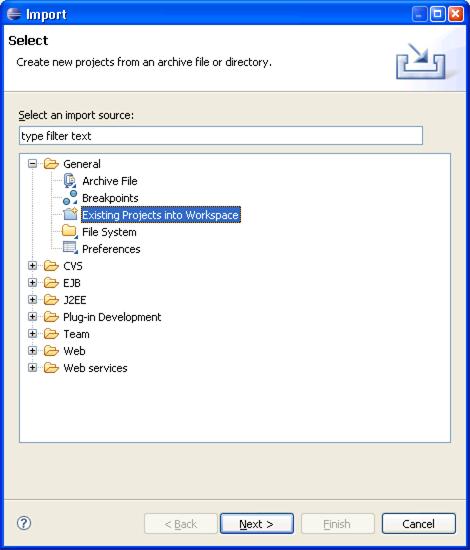
- Now we are ready to import projects into out workspace. Begin by launching the "Existing Projects into Workspace" import wizard. Select File, Import, General, Select Existing Projects into Workspace, Next (as below):
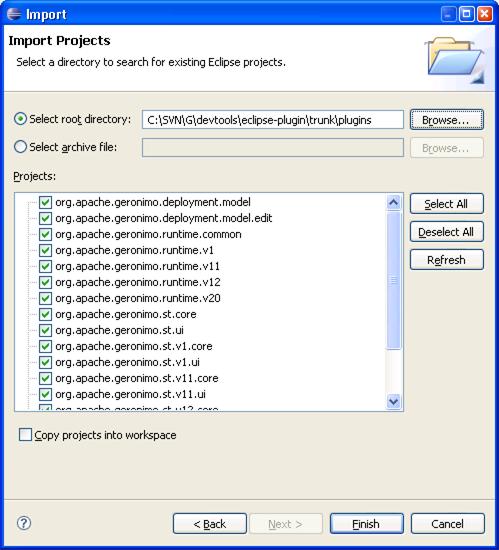
- Select the location of the plugins directory on your filesystem of your source tree. For example, .../geronimo-eclipse/plugins. The wizard will automatically preselect all the projects found. Select Finish.
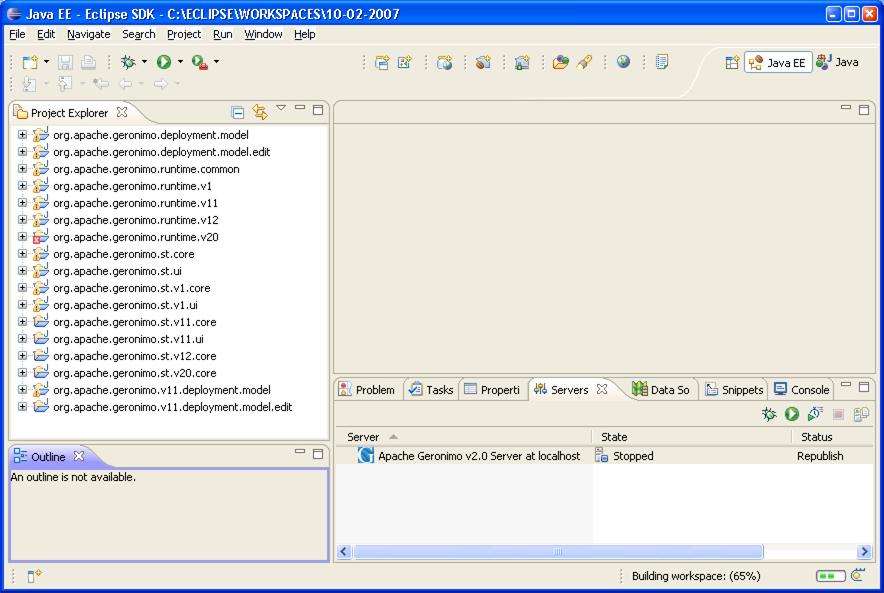
- The projects will then be imported into your workspace and your Package Explorer view in the Java Perspective (or the Project Explorer view in the JavaEE Perspective) will look like the following:
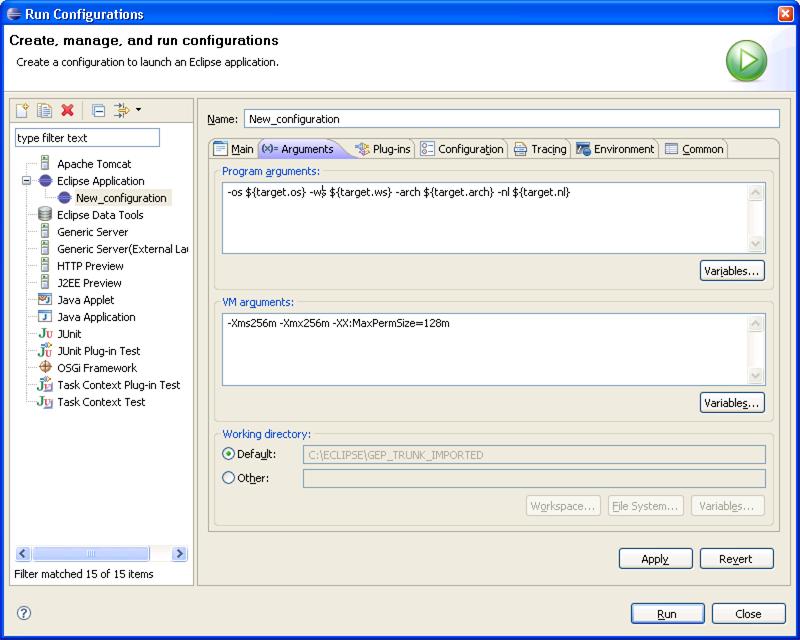
- Setup a launch configuration to test code changes:
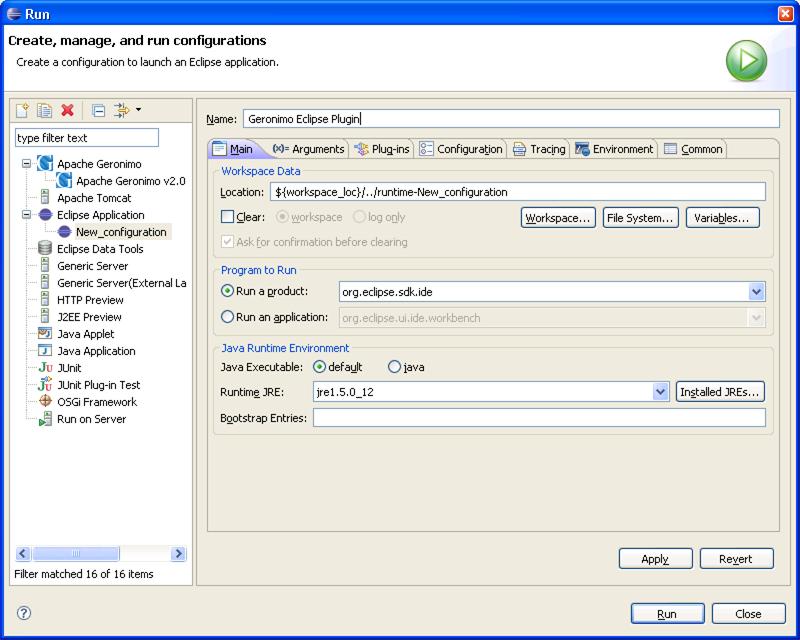
- From the menu Select Run, Run Configurations.... This will launch the Run configuration page.
- Create a new Eclipse Application configuration and name it anything to identify it as the Geronimo Eclipse Plugin. The defaults will launch every plugin in the target platform plus all open plugin projects in your workspace. This and the other defaults are sufficient.
- However if you want to enable trace for all the Geronimo Plugins, Select the Tracing tab, Select Enable tracing, Select Select All
- Run launch configuration:
- From the menu Select Run, Open Run Dialog. This will launch the Run configuration page.
- Select the Eclipse Application created above, Select Run