|
|
| Home > Documentation > Developer's guide > Tutorials > EJB applications > 5-minute Tutorial on Enterprise Application Development with Eclipse and Geronimo |
This tutorial walks you through configuring, developing and deploying an enterprise application with Eclipse and Geronimo. To run this tutorial, as a minimum you will be required to have installed the following prerequisite software.
Details on installing eclipse are provided in the Development environment section. This tutorial is organized in the following sections:
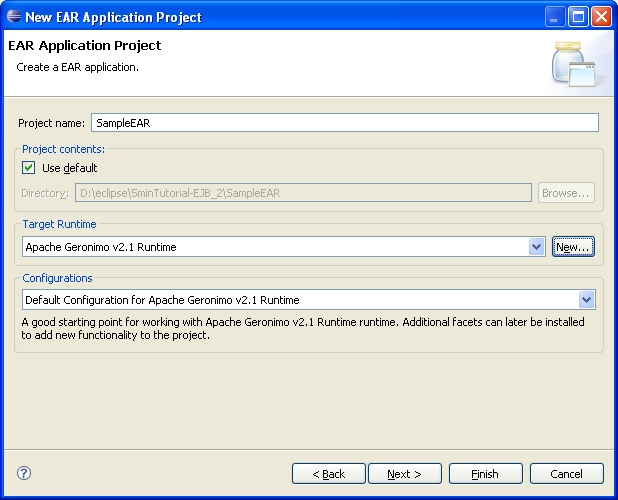
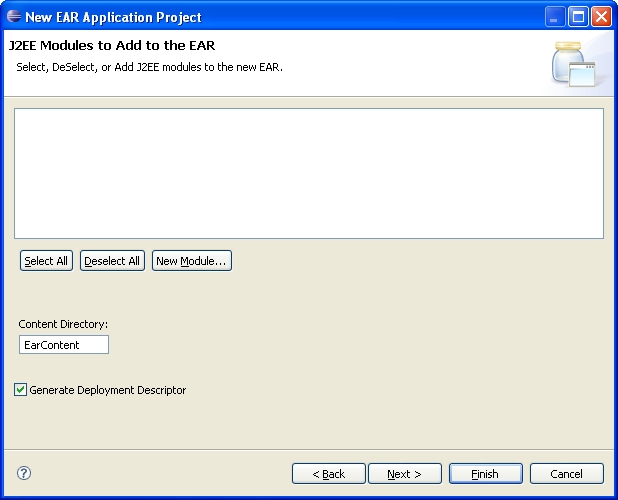
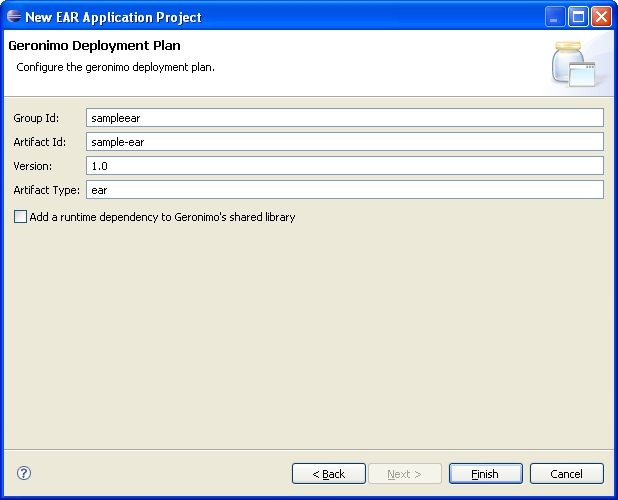
Start from creating an enterprise application project from the eclipse workspace.
If asked about changing to the Java EE perspective, click Yes. You may want to select the Remember my decision checkbox to avoid dealing with it in the future.
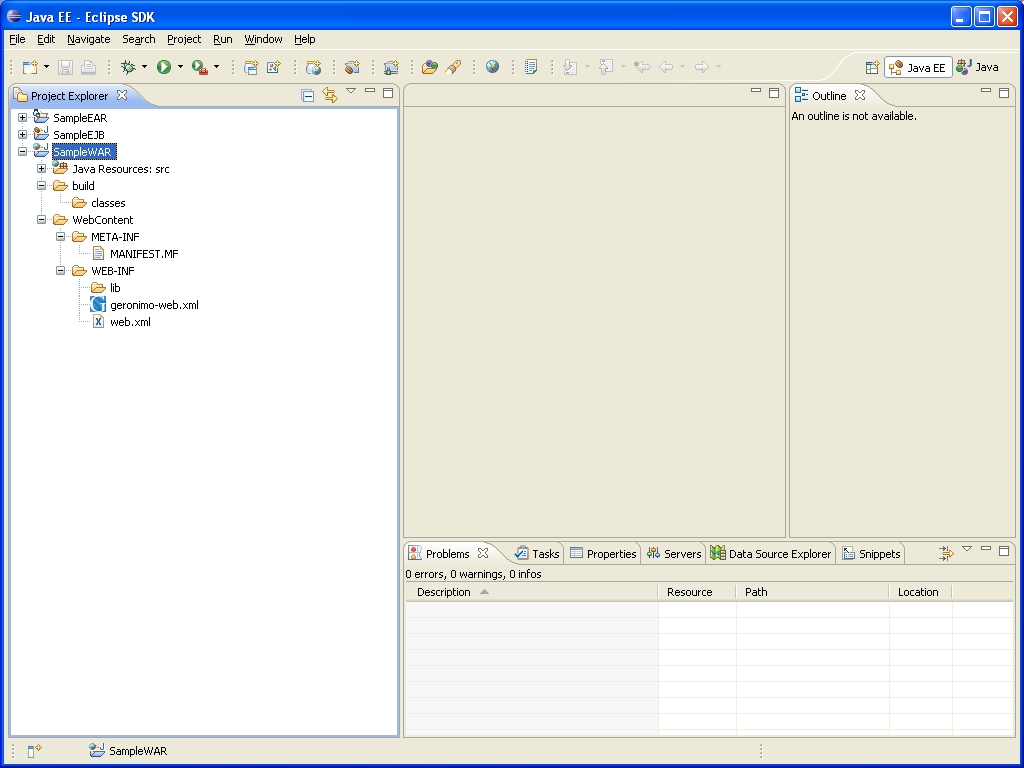
You should now have the following project structure.
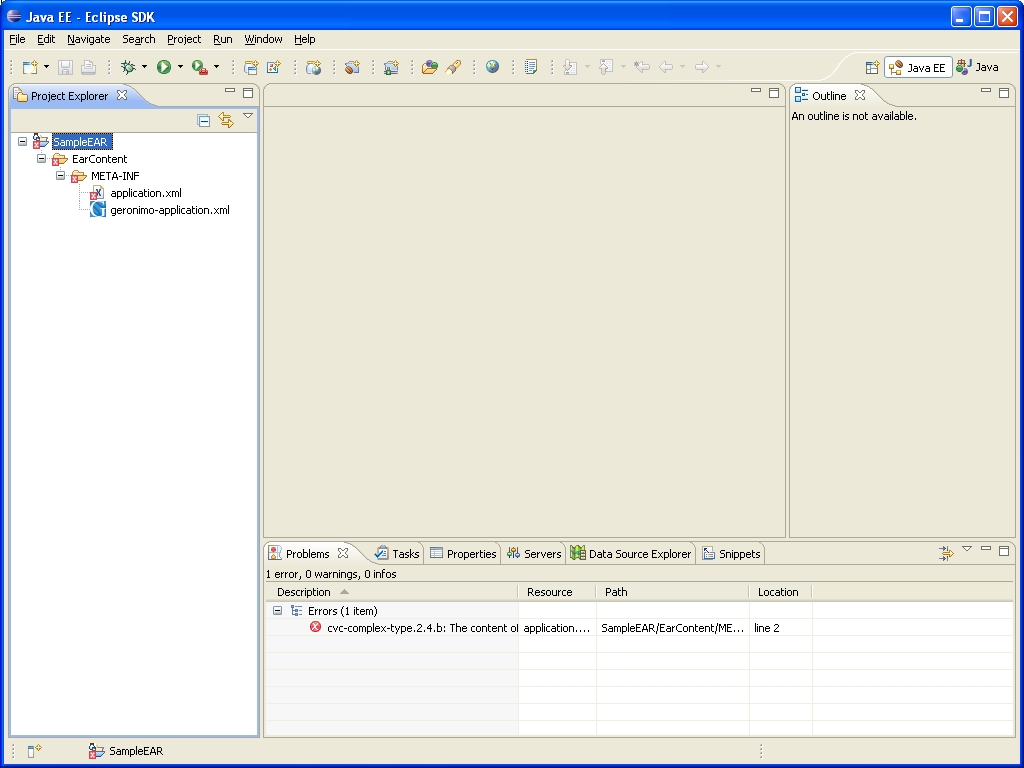
Error message
Don't worry about the error cvc-complex-type.2.4.b: The content of element 'application' is not complete... for now. We'll fix it in the next step when you define an ejb module (and webapp module afterwards).
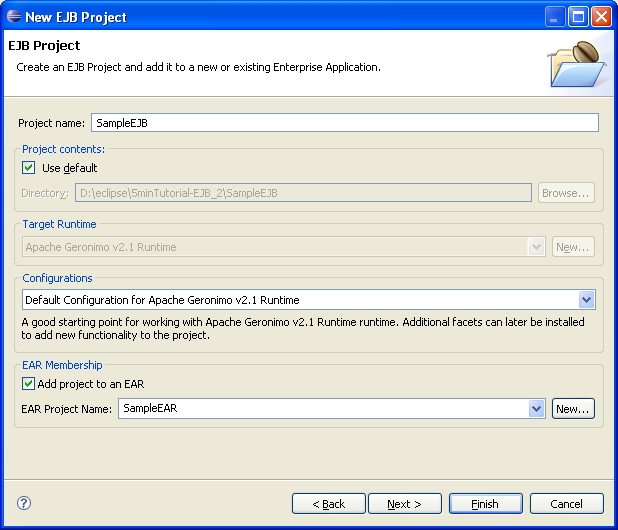
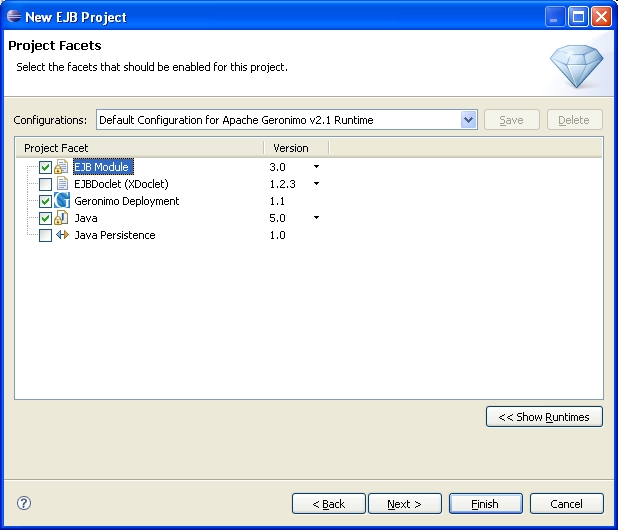
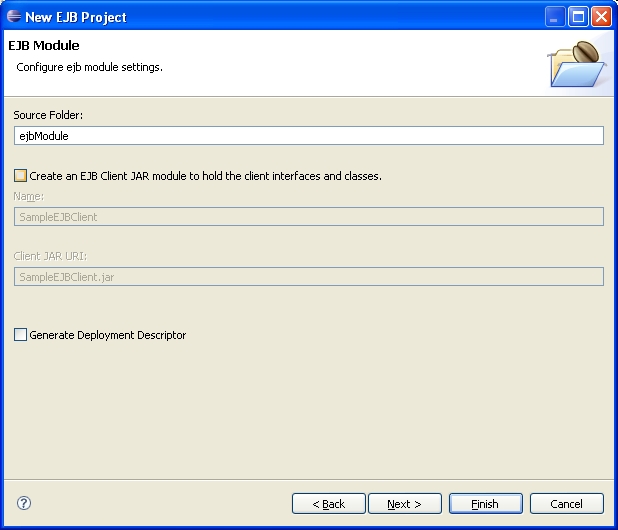
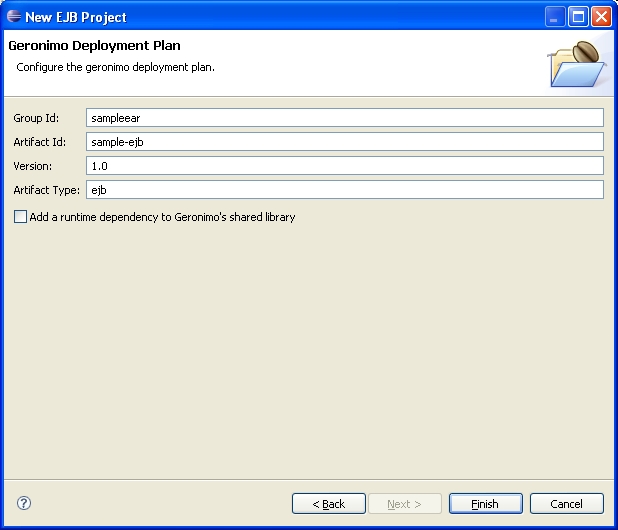
The next step is to create an EJB project to hold your EJBs.
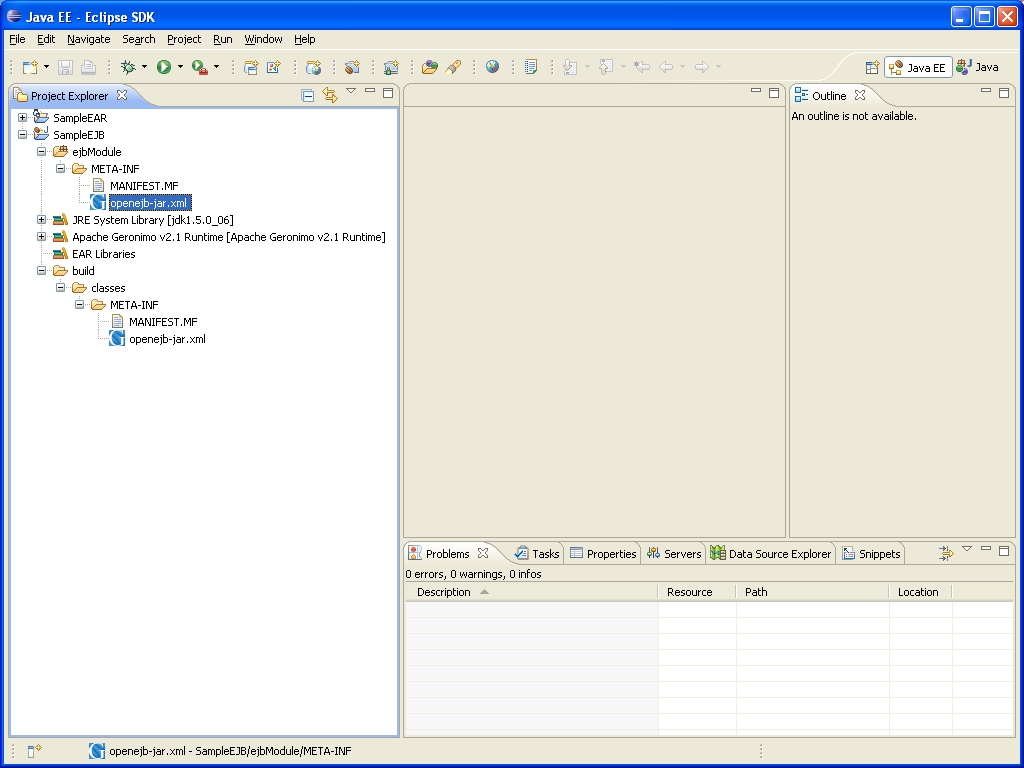
You should now have the following project structure.
Important
When workng on versions pervious to Geronimo 2.1.7, remove ejbModule/META-INF/openejb-jar.xml file in the SampleEJB project as it causes deployment issues. See the file highlighted in the image above. However, when using Geronimo 2.1.7, you must include this ejbModule/META-INF/openejb-jar.xml file or else you will encounter NullPointerException error due to a bug issue.
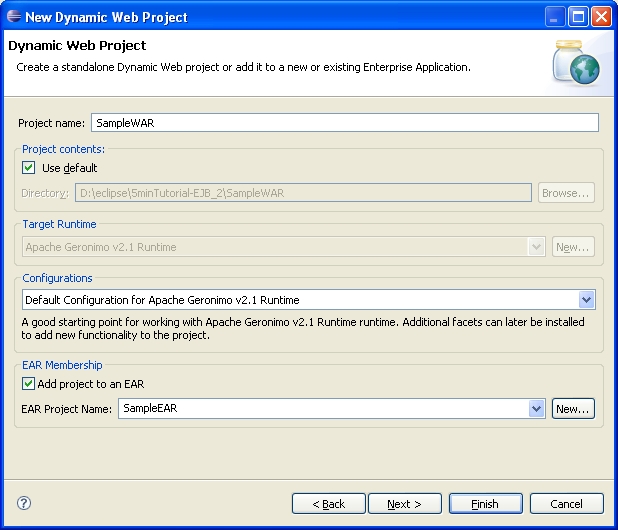
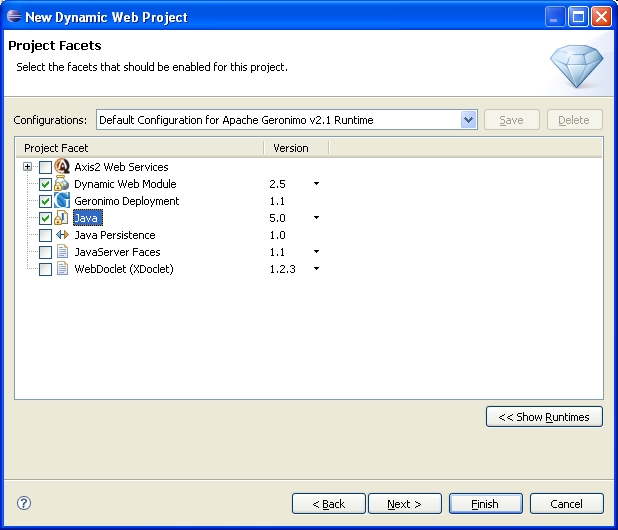
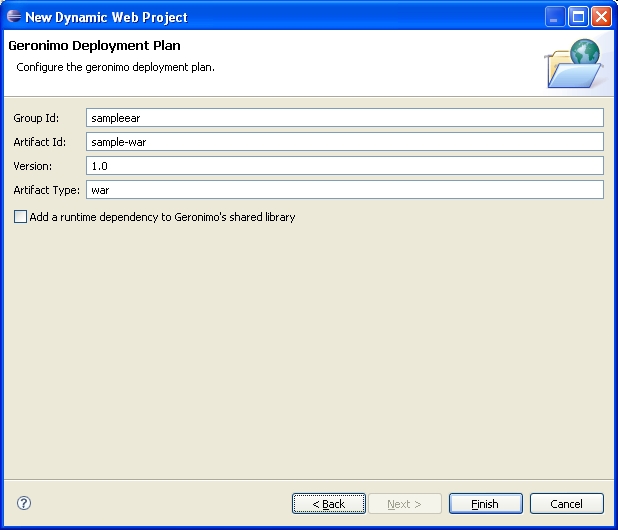
Now that you have EAR and EJB projects created the next step is to create a Dynamic Web project to hold your web application.
You should now have the following project structure.
Every stateless session ejb has its own business interface. There are three types of business interfaces - @Remote, @Local and @WebService - and combinations of these three. No need to say that every EJB development starts from defining a business interface and implementing it by a bean implementation class so, that is exactly what we will be doing in the next steps.
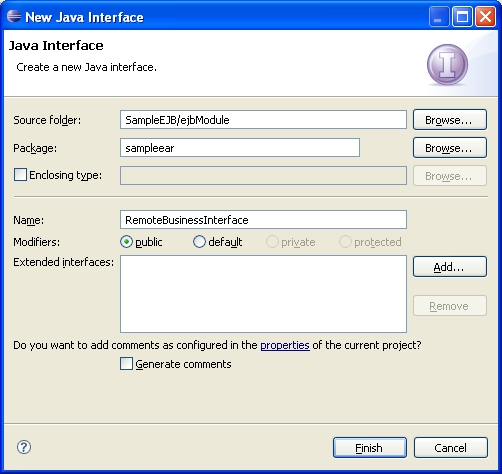
Now we need to add a business method and mark the interface as a remote one with @Remote annotation.
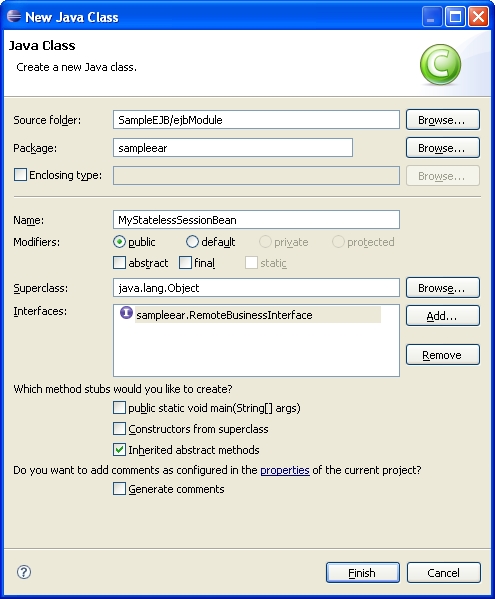
Implement the business method sayHello and mark the class as a stateless session bean with the @Stateless annotation.
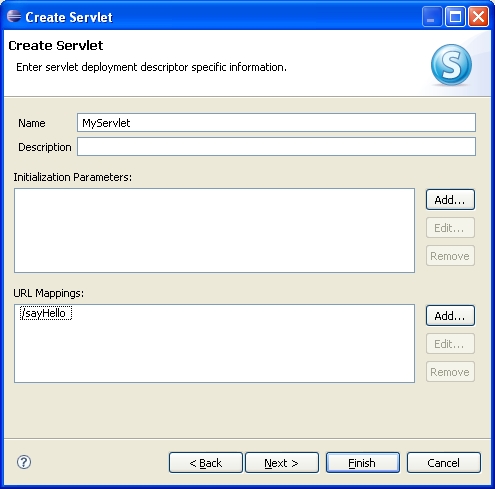
The time has come to use the ejb in the web application. In this section we create a jsp index.jsp page that executes a servlet MyServlet that in turn executes the ejb MyStatelessSessionBean.
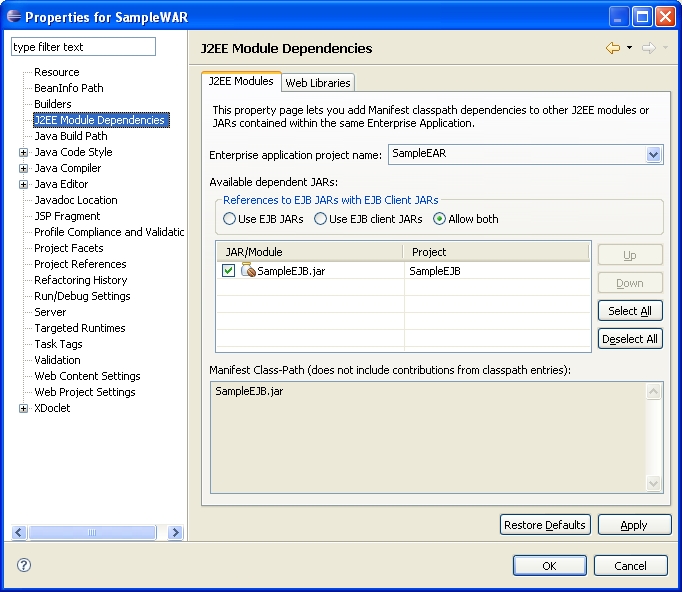
index.jsp and click Finish.Since the servlet calls the EJB, the web project the servlet is in depends on the EJB project. Let's define the dependency.
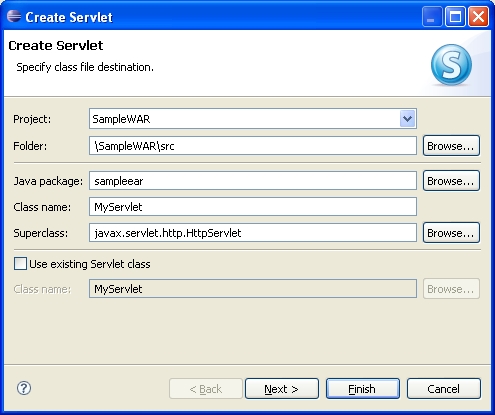
MyServlet.java opens up automatically for editing after creation, update the servlet as shown below to call off the ejb when executed.
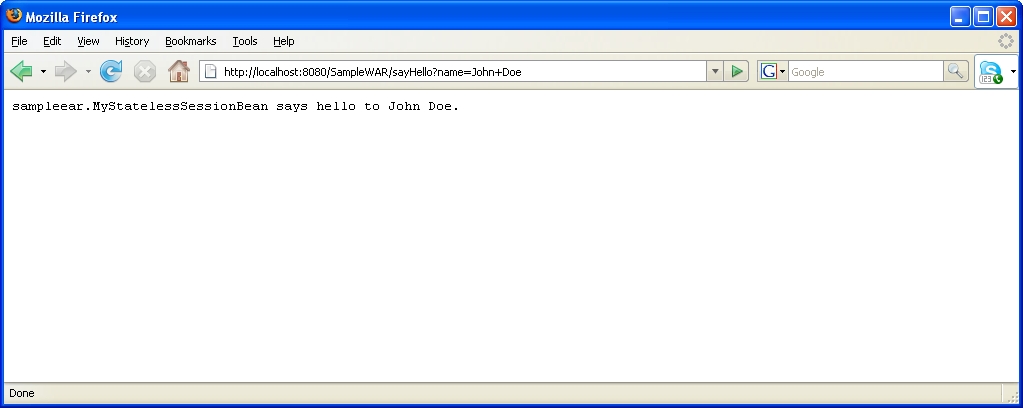
All it's left before we test this sample it to deploy it. This task is done automatically for you when you choose to run the application directly from the eclipse workspace.

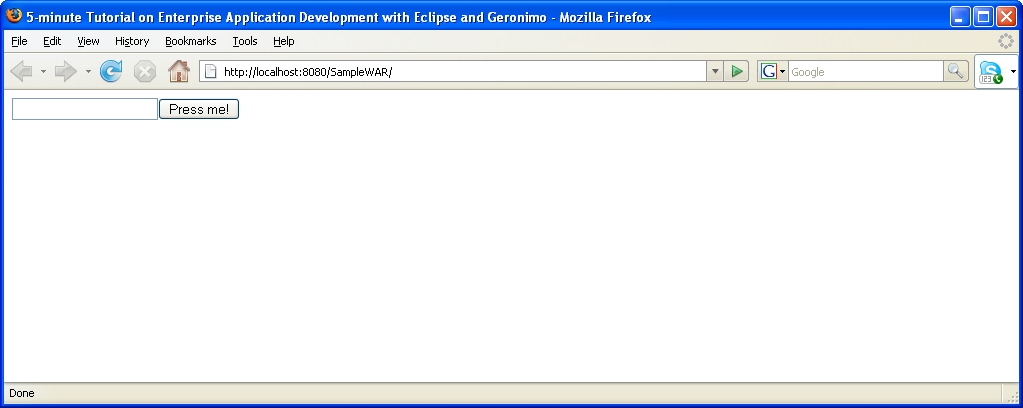
John Doe and press Press me! button.
|
|
Privacy Policy - Copyright © 2003-2011, The Apache Software Foundation, Licensed under ASL 2.0. |