|
|
| Home > Documentation > Developer's guide > Tutorials > Persistence > Using Java Persistence API in application client |
The Java Persistence API (JPA) is a new programming model under EJB3.0 specification (JSR220) for the management of persistence and object/relational mapping with Java EE and Java SE. With JPA, developers can easily develop java applications that perform operations on relational database management systems using java objects and mapping. In that way, java applications developed using JPA are not only portable across different platforms, but also applications can be easily developed using simple yet powerful programming model provided by JPA. This greatly improves application maintainability against ever changing database world. JPA insulates applications from all the complexity and non-portable boilerplate code involved in database connectivity and operations.
Apache Geronimo uses Apache OpenJPA for providing Java Persistence API implementation to Java EE applications deployed in the server. Even though JPA is a part of EJB3 spec, it is independent of it. Hence, JPA can be used in JavaSE, web and ejb applications in the same uniform way. Think of a JPA implementation, e.g. Apache OpenJPA as a driver for JPA (JPA driver) similarly to what a JDBC driver is for JDBC.
The below section illustrates developing and deploying a JEE application client that uses JPA to access and manipulate database data residing in an embedded derby database.
In order to develop, deploy and run the application, the following environment is required.
The article has the following sections.
To download the complete application, click on link
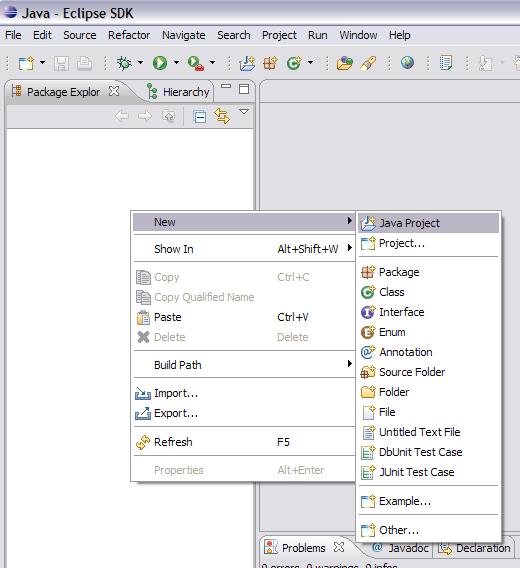
1. Start the Eclipse IDE and create ApplicationClientJPA java project.
Right click on the Project Explorer Window and click on New > Java Project.
Provide ApplicationClientJPA as the name for the Java Project.
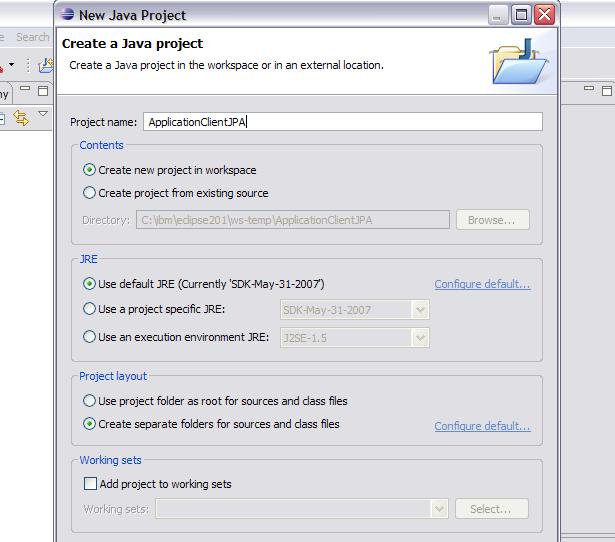
Click on Finish.
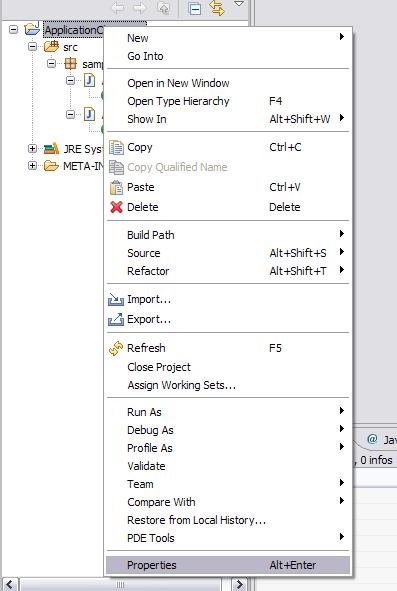
Right click on the Project and click on the Properties option which is the last option in the menu.
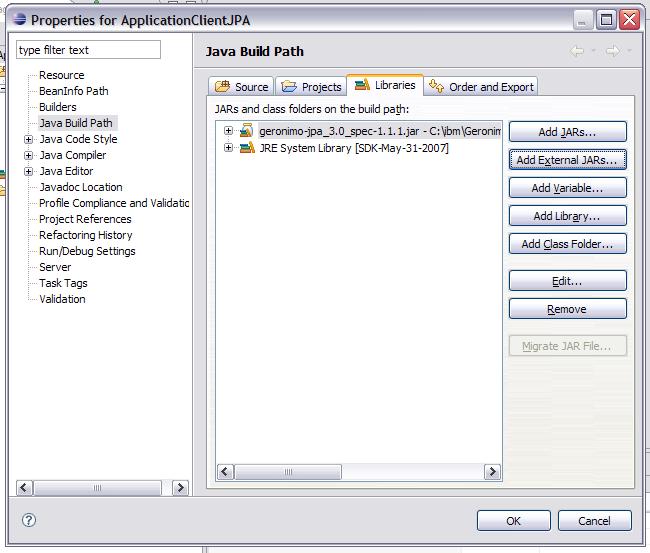
This will open up Properties Window. Click on Java Build Path => Libraries tab on the right hand side.
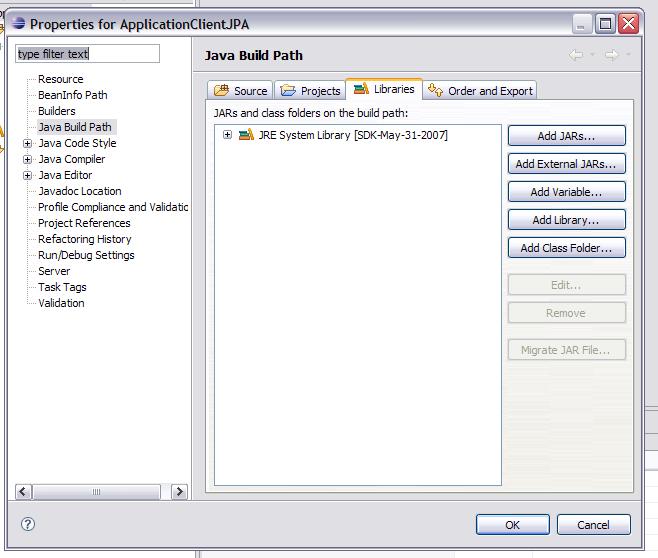
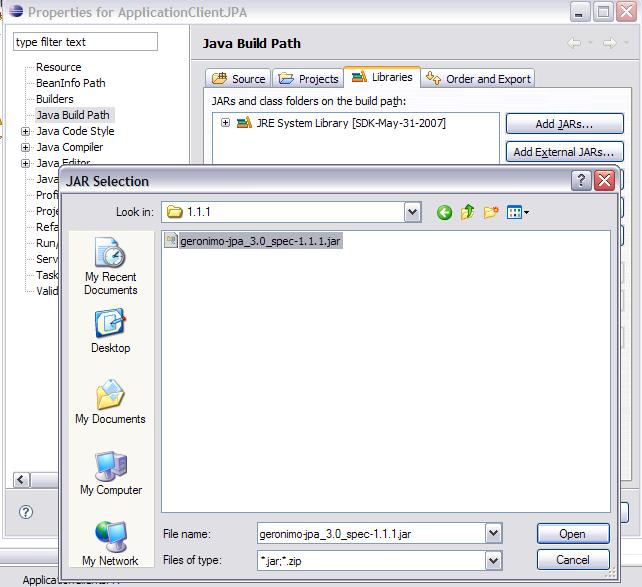
Click on Add External JARs button and browse for geronimo-jpa_3.0_spec-1.1.1.jar file which should be in <geronimo_home>/repository/org/apache/geronimo/specs/geronimo-jpa_3.0_spec/1.1.1. The jar file is only to compile entity and entity client classes you're about to create. Geronimo provides the jar at runtime.
Select the file and click on the Open button.
This will add the library to the build path. Click on OK.
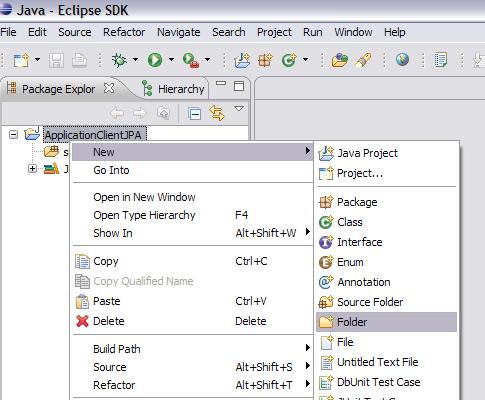
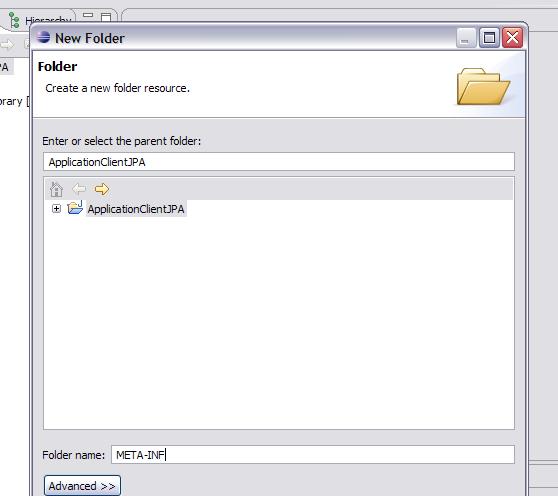
2. Create META-INF folder in the project. Right click on the project and click on New > Folder
Provide META-INF for the folder name and click on Finish.
That's all! the setup required for developing the application client is over.
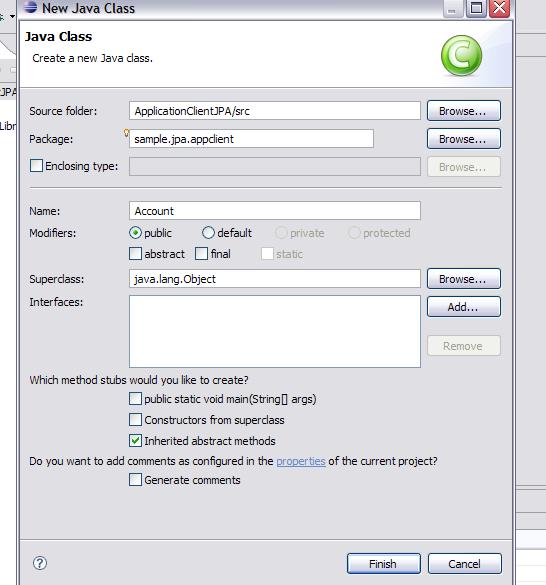
1.Right click on the project and create a Account java class as follows.
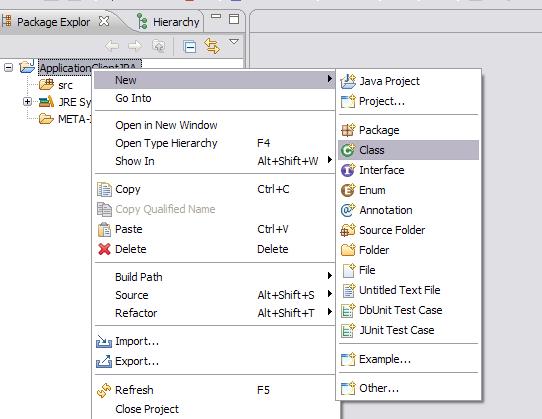
Provide name for the class as Account with a package name as sample.jpa.appclient. Click on Finish.
2. Copy the below contents to the Account.java.
3. Similarly, right click on the project and create another java class by name AccountClient.java. Also, provide the same package name sample.jpa.appclient.
4.Copy the below contents to the AccountClient.java.
The AccountClient obtains EntityManagerFactory object first and then creates an EntityManager object from the factory. The EntityManager object thus obtained is Application Managed EntityManager object. The Persistence scope of the EntityManager is by default Extended. Since the application client runs in a different JVM from the server, the transaction type is RESOURCE_LOCAL. Hence the AccountClient must use EntityTransaction to demarcate the transactions.
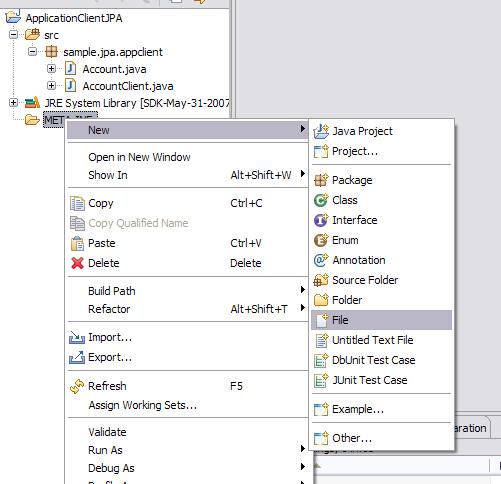
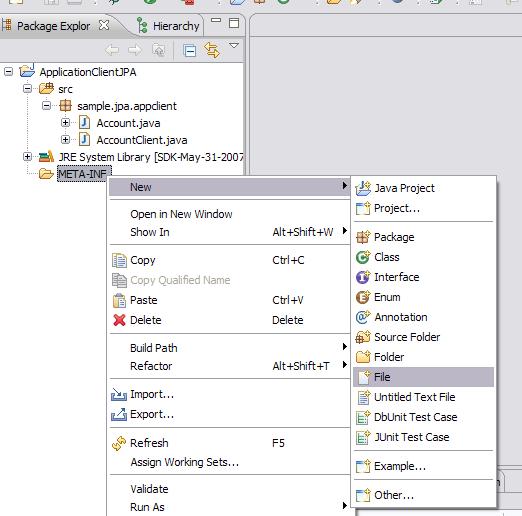
1. Create persistence.xml file in the META-INF folder as follows.
Right click on the META-INF folder and click on New => File.
Provide persistence.xml as the file name and click on Finish.
Copy the below contents to the persistence.xml.
2. Similarly, create application-client.xml file in the META-INF folder as given the previous step and copy the below contents into the file.
Since we are using JPA annotations to declare the resources, we do not require any entries in the file.
3. Similarly, create geronimo-application-client.xml file under META-INF file and copy the below contents.
1. Export the Java Project to a jar file Start the geronimo server and open the admin console http://localhost:8080/console.
Click on Embedded DB => DB Manager on the Console Navigation portlet. This will open up DB Viewer and Run SQL portlets on the right hand side as follows.
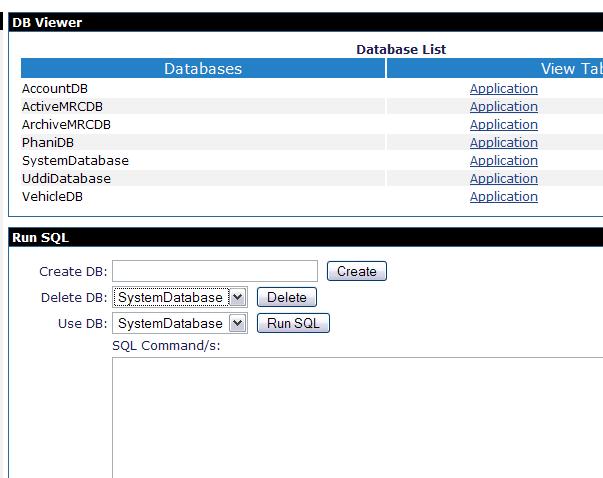
Enter AccountDB in the Create DB text box and click on Create button. This will create a new Database AccountDB and will be listed in the DB Viewer portlet.
In the textarea SQL Command/s: which is on the Run SQL portlet, enter the below SQL command, and select AccountDB in the Use DB combo box, and click on Run SQL button. This creates the Account1 table in the AccountDB database.
Insert some sample rows in the table using the below SQL statements by following the same outlined procedure above.
2. Export the Java project by name ApplicationClientJPA.jar as follows.
Right click on the java project and export it as jar file.
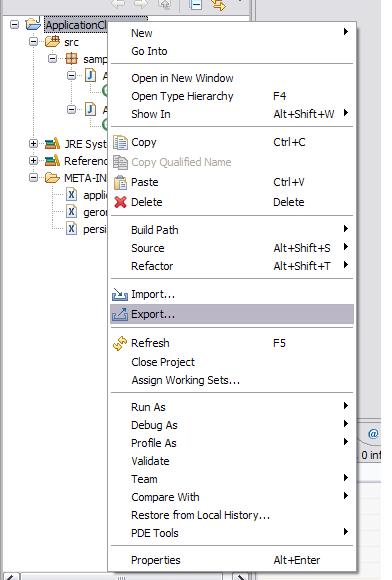
Select Java => jar

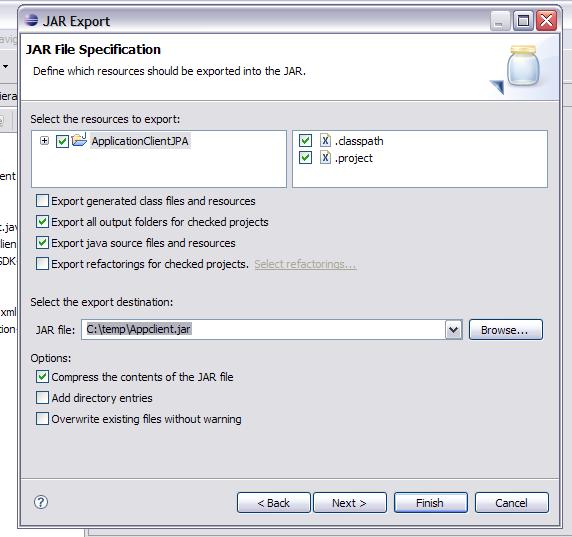
Click on Next and provide the jar file name and destination folder as below and click on Next.
In the next screen click Next. In the Jar Manifest Specification wizard, select sample.jpa.appclient.AccountClient using Browse button. This is the class that has public static void main(String[] args) method which is the application entry point.
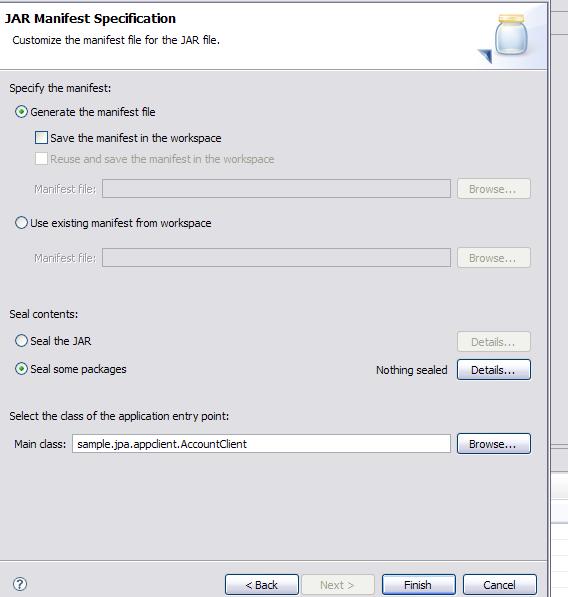
Click Finish.
3. Deploy the application client as follows.
Change the directory to <geronimo_home>\bin.
Submit the below command
<geronimo_home>/bin>deploy.bat --user system --password manager deploy <location_of_the_ApplicationClientJPA.jar>/ApplicationClientJPA.jar
1. Run the application client as follows.
The application performs the following operations. Use the script client(.bat or .sh) to run the application client.
<geronimo_home>/bin>client AccountJPA/AccountJPA-app-client/3.0/jar list
<geronimo_home>/bin>client AccountJPA/AccountJPA-app-client/3.0/jar create 2222 Joe NewYork BranchX 20000.0
<geronimo_home>/bin>client AccountJPA/AccountJPA-app-client/3.0/jar update 2222 30000.00
<geronimo_home>/bin>client AccountJPA/AccountJPA-app-client/3.0/jar delete 2222.
|
|
Privacy Policy - Copyright © 2003-2011, The Apache Software Foundation, Licensed under ASL 2.0. |