HomeDocumentation > Developing > Tutorials > Developing Web services > Developing a simple Calculator Web service
{scrollbar}

This tutorial will walk you through building and developing the JAX-WS calculator that ships with the samples package for Geronimo. After completing this tutorial, you should be able to understand how to build simple Web services with Apache Geronimo
using the Eclipse development environment.

To run this tutorial, as a minimum you will be required to have installed the following prerequisite software.

  1. Sun JDK 6.0+ (J2SE 1.6)
  2. Eclipse IDE for Java EE Developers, which is platform specific
  3. Apache Geronimo Eclipse Plugin 2.2.x
  4. Apache Geronimo Server 2.2.x

    Geronimo version 2.2, Java 1.6 runtime, and Eclipse Ganymede are used is used in this tutorial but other versions can be used instead (for example, Geronimo version 2.1, Java 1.5, Eclipse Europa)

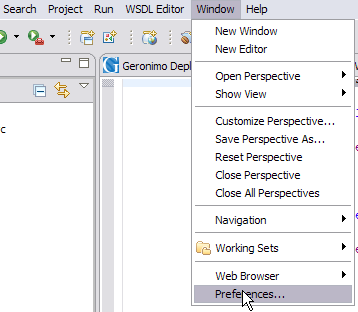
Details on installing eclipse are provided in the Development environment section. This tutorial is organized in the following sections:

2listpipe

Setting Eclipse for application development

Create a Dynamic Web project

  1. Select File -> New, select Other....


  2. In the popup window select Web -> Dynamic Web Project category and click Next.


  3. Type in jaxws-calculator as the Project name and select Next.


  4. Make sure Generate Deployment Descriptor is selected and click Next.


  5. Modify the Group Id to: org.apache.geronimo.samples.jws and Artifact Id to: Calculator.


    Useful Information
    • Group ID: A name that identifies the group of a module. The default value is default.
    • Artifact ID: A name of the module in a group. The default value is <blank>.
    • Version: The version of module. The default value is 1.0
    • Type: The type of module, such as system module (car), jar module (jar), web archive (war), enterprise archive (ear), and so on. The default value is car. A module is stored inside a repository as repository/groupId/artifactId/version/artifactIdversion.
      type. This repository structure gives a more standardized and easily maintainable
      structure to Geronimo applications.

Axis2 configuration

  1. Select Window -> Preferences.


  2. Select Web Services -> Axis2 Preferences.
  3. Under Axis2 Runtime tab, browse to the installation root of the Axis2 runtime installation to be used in Eclipse. Select OK. Useful Information

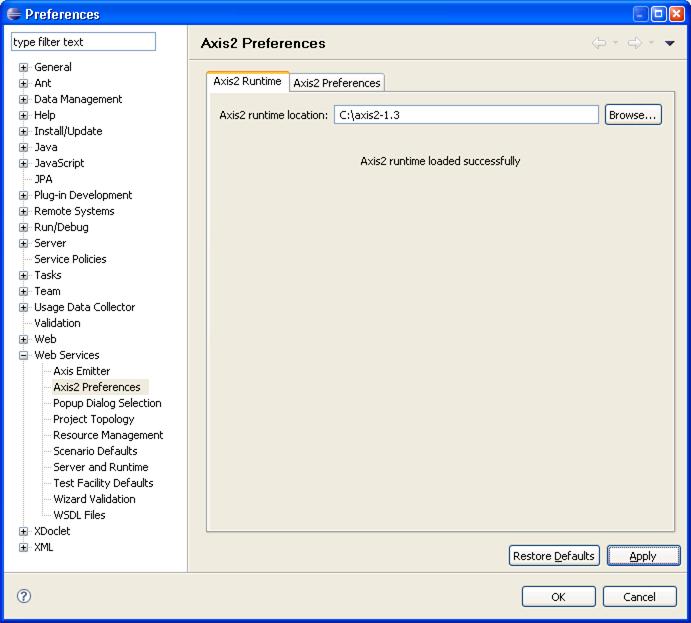
    A separate Axis2 runtime is required for use by the Eclipse Axis2 project facet. You can use the pre-integrated Axis2 1.4 binaries (axis-1.4.jar) from the local Geronimo repository under <Geronimo_home>/repository/axis/axis/1.4

  4. Righ click on the jaxws-calculator project and select Properties, then select Project Facets.
  5. On the next screen check the box for Axis2 Web Services.


  6. Select Finish.
    This completes the configuration of Eclipse for application development.

Creating the Web services implementation code

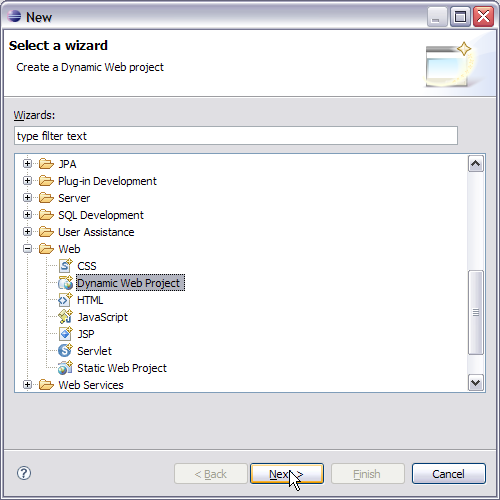
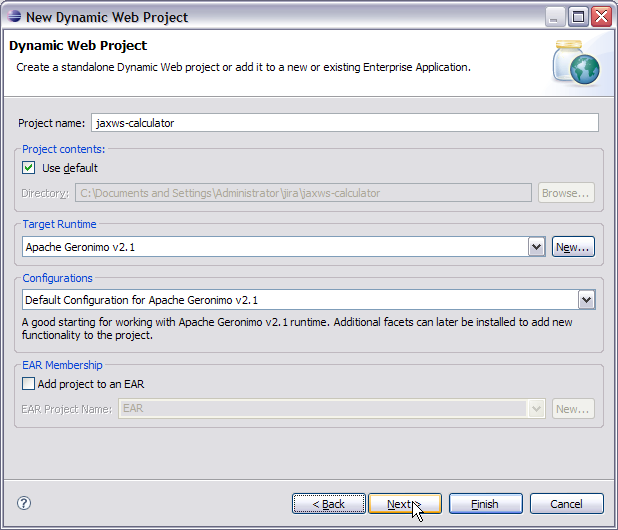
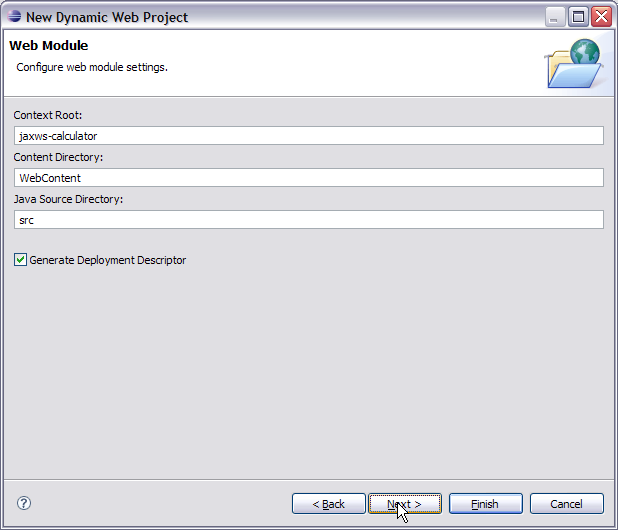
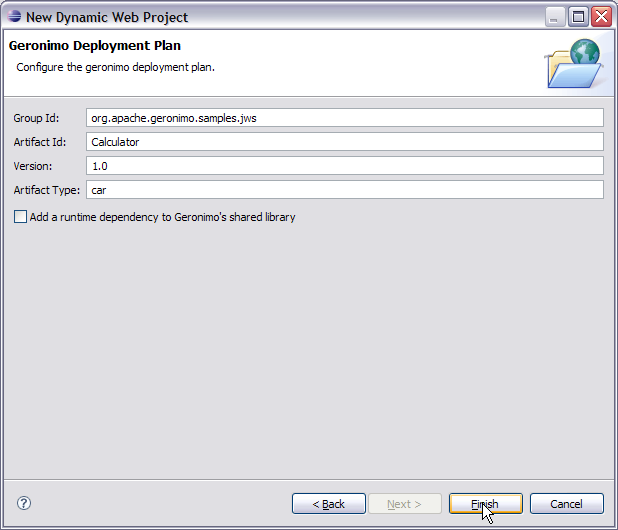
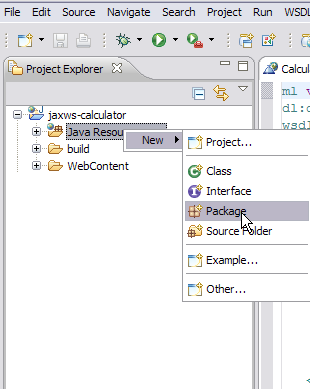
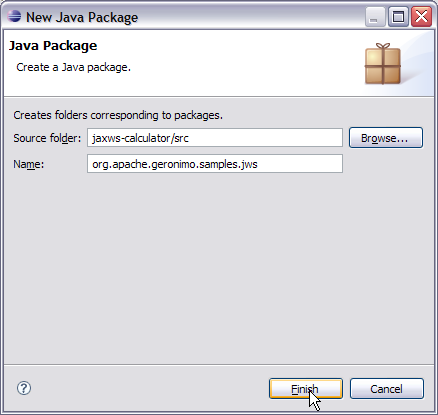
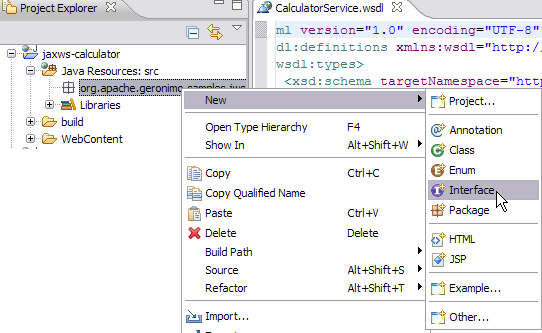
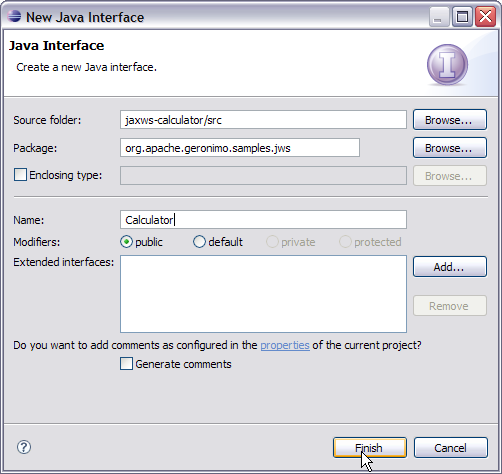
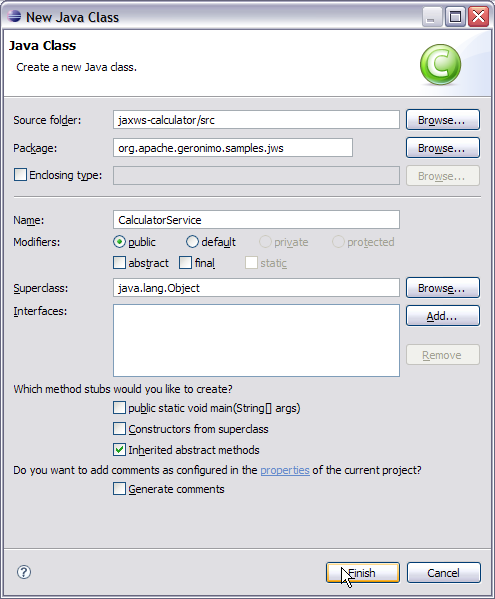
To implement the Calculator Web service we are going to create a package called org.apache.geronimo.samples.jws. This package will contain two classes: a Calculator interface, and a CalculatorService which implements the Calculator interface. Let's go step by step with creating the package, interface class and implementation class.

  1. Right click on Java Resources: src and select New -> Package.


  2. Name the package as org.apache.geronimo.samples.jws. Select Finish.


  3. Right click on the new package and Select New -> Interface.


  4. Name the interface as Calculator. Select Finish.


  5. Add the following code to the Calculator interface class: solidCalculator.class package org.apache.geronimo.samples.jws; import javax.jws.WebService; import javax.jws.WebMethod; import javax.jws.WebParam; @WebService(name="CalculatorPortType", targetNamespace = "http://jws.samples.geronimo.apache.org") public interface Calculator { @WebMethod public int add(@WebParam(name = "value1") int value1, @WebParam(name = "value2") int value2); }
  6. Right click on the package org.apache.geronimo.samples.jws and select New -> Class.
  7. Name the class CalculatorService.
  8. Accept all the defaults and Select Finish..


  9. Add the following code to CalculatorService class: solidCalculatorService.class package org.apache.geronimo.samples.jws; import javax.annotation.Resource; import javax.jws.WebService; import javax.xml.ws.WebServiceContext; @WebService(serviceName = "Calculator", portName="CalculatorPort", endpointInterface = "org.apache.geronimo.samples.jws.Calculator", targetNamespace = "http://jws.samples.geronimo.apache.org" ) public class CalculatorService implements Calculator { @Resource private WebServiceContext context; public int add(int value1, int value2) { System.out.println("User Principal: " + context.getUserPrincipal()); return value1 + value2; } }

Let us try to understand each annotation.

  • @WebService- This annotation can be used with a Java class as well as with interface. In our case we used it with both interface as well as the POJO. This annotation declares the POJO as a WebService. @WebService annotation is utilized in generating the WSDL file.
    • serviceName is same as the WSDL element service
    • name is same as the WSDL element <portType name>
    • endpointInterface suggests the user defined name for the Service Endpoint Interface (SEI).
    • portName is the element portName
    • targetNamespace is the XML namespace of the WSDL and some of the XML elements generated from the WebService
  • @WebMethod- This annotation is applied to a method to expose it as a WebService method. In case you have multiple methods you can use this annotation to selectively expose methods as WebService method. If you donot use this annotation all the public methods will be exposed as WebService.
  • @WebParam- This annotation is used along with @WebMethod annotation to define the WebService. It is used to customize parameter used in the message part of the WSDL.

This completes the development of the Web Service Implementation code.

Generating the WSDL for the Web service

Geronimo provides a new jaxws-tools.bat which helps in generating the WSDL file from service endpoint interface.

  • Export the source files to a jar as shown in the following three figures.


  • Open a command prompt and point it to the bin directory of server installation.
    1. Run the command: solidWSDL Generation command Administrator@T60J9:/> jaxws-tools.bat wsgen -classpath C:/WSDL/source.jar -d C:/WSDL/ -wsdl:soap1.1 org.apache.geronimo.samples.jws.CalculatorService In this command -classpath is used to set the source.jar exported from Eclipse in the classpath, -d defines the location where all the generated artifacts will be placed, -wsdl:soap1.1 suggests a WSDL generation following soap1.1 protocol, and org.apache.geronimo.samples.jws.CalculatorService is the SEI used to generate the WSDL.
    2. Once the above command is run 
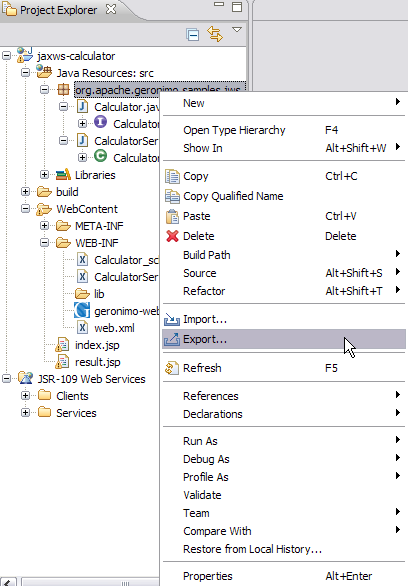
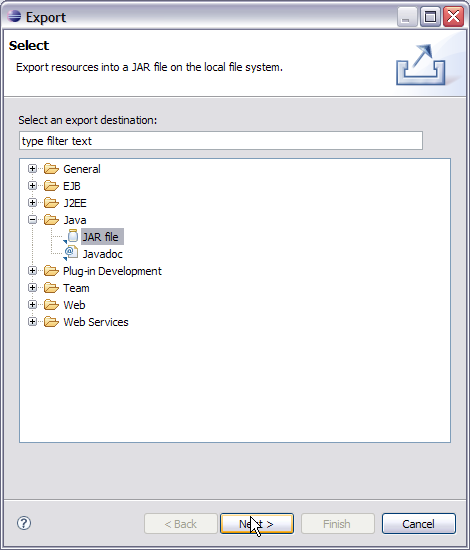
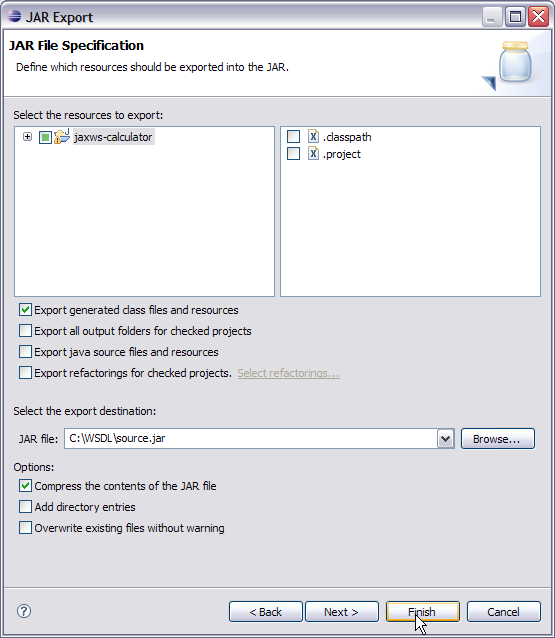
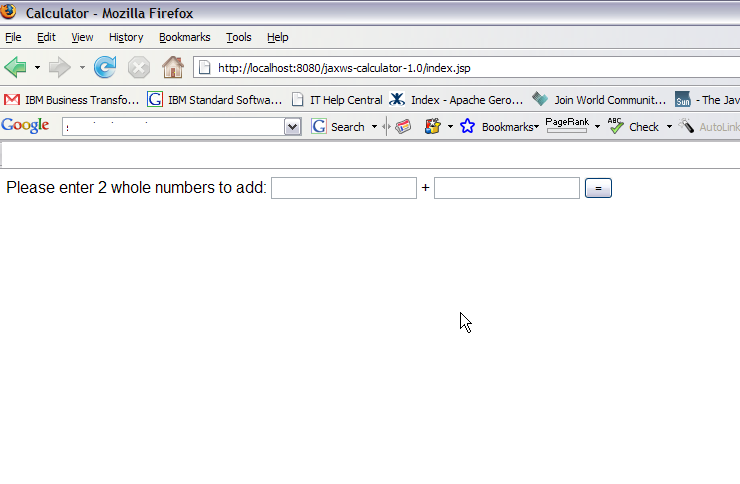
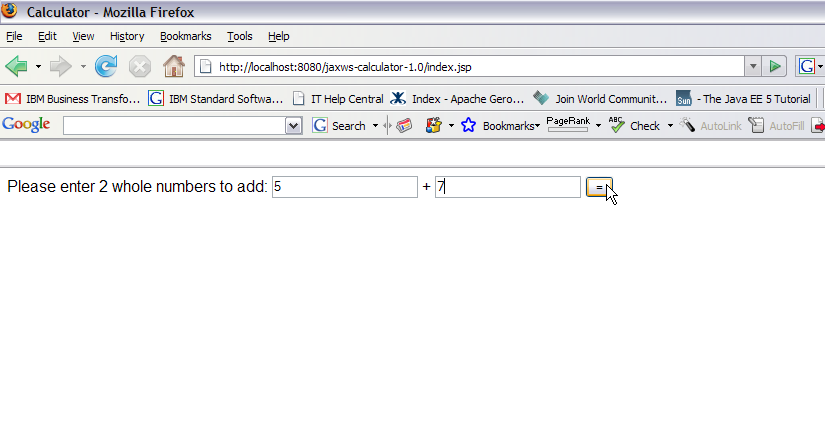
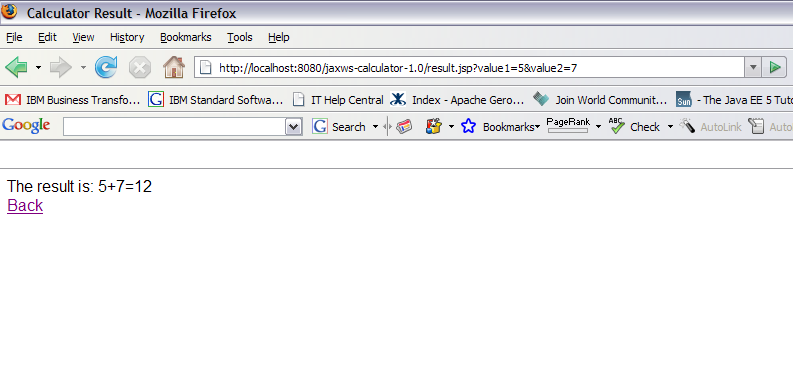
Calculator_schema1.xsd and Calculator.wsdl will be generated at C:/WSDL/.

    3. Rename Calculator.wsdl as CalculatorService.wsdl and add both the generated files to WEB-INF directory of the project.

Developing a Web client for Calculator

This section will take you through the creation of two JSP's: index.jsp and result.jsp. index.jsp will prompt the user to enter two whole number values to add together. After submitting the form, the action will be forwarded to the result.jsp, which will call the Calculator Web Service.
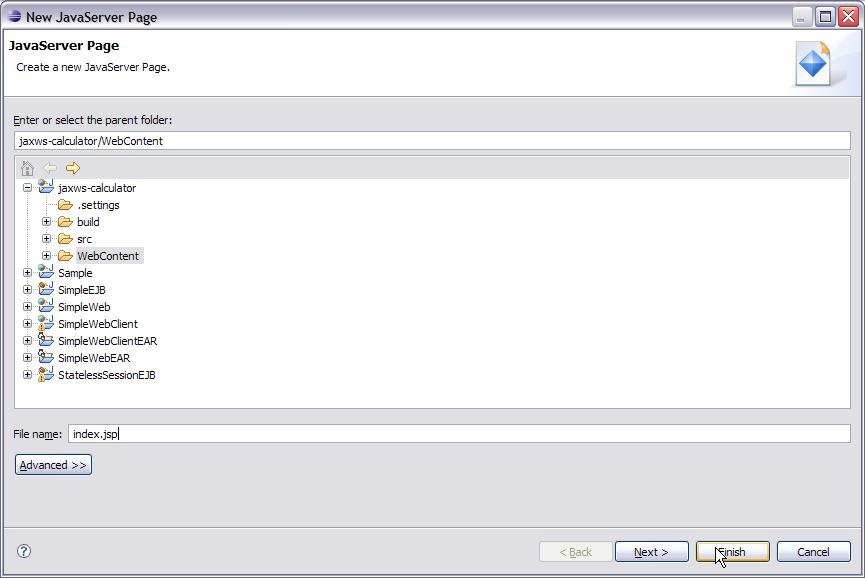
  1. Right click on the Web Content folder and Select New --> JSP.

  2. Name the JSP as index.jsp and select Finish.


  3. Add the following code to index.jsp: solidindex.jsp <%@ page import="java.net.URL,javax.xml.namespace.QName,javax.xml.ws.Service,org .apache.geronimo.samples.jws.Calculator"%> <html xmlns="http://www.w3.org/1999/xhtml" xml:lang="en"> <head> <title>Calculator</title> </head> <body> <form action="result.jsp"> Please enter 2 whole numbers to add: <input type="text" name="value1"> + <input type="text" name="value2"> <input type="submit" value="="> </form> </body> </html>
  4. Right click on the Web Content folder and Select New -> JSP.

  5. Name the JSP as result.jsp and select Finish.

  6. Add the following code to result.jsp: solidresult.jsp <%@ page import="java.net.URL,javax.xml.namespace.QName,javax.xml.ws.Service,org .apache.geronimo.samples.jws.Calculator"%> <html xmlns="http://www.w3.org/1999/xhtml" xml:lang="en"> <head> <title>Calculator Result</title> </head> <% int value1 = 0; int value2 = 0; int sum = 0; try { System.out.println( request.getParameter( "value1" ) + " " + request.getParameter( "value2" ) ); value1 = Integer.parseInt( request.getParameter( "value1" ) ); value2 = Integer.parseInt( request.getParameter( "value2" ) ); URL url = new URL("http://localhost:8080/jaxws-calculator- 1.0/calculator?wsdl"); QName qname = new QName("http://jws.samples.geronimo.apache.org", "Calculator"); Service service = Service.create(url, qname); Calculator calc = (Calculator)service.getPort(Calculator.class); sum = calc.add(value1, value2); } catch ( Exception e ) { e.printStackTrace(); } %> <body> The result is: <%=value1%>+<%=value2%>=<%=sum%> <br> <a href="index.jsp">Back</a> </body> </html> This finishes the development of Web client.

Setting up the Deployment Descriptor and Deployment Plan

  1. Double click WEB-INF/web.xml and add the following code: solidweb.xml <?xml version="1.0" encoding="UTF-8"?> <web-app xmlns:calc="urn:geronimo-samples-jws" xmlns="http://java.sun.com/xml/ns/javaee" version="2.5"> <servlet> <display-name>CalculatorService</display-name> <servlet-name>CalculatorService</servlet-name> <servlet-class> org.apache.geronimo.samples.jws.CalculatorService </servlet-class> </servlet> <servlet-mapping> <servlet-name>CalculatorService</servlet-name> <url-pattern>/calculator</url-pattern> </servlet-mapping> <service-ref> <service-ref-name>services/Calculator</service-ref-name> <service-interface>javax.xml.ws.Service</service-interface> <wsdl-file>WEB-INF/CalculatorService.wsdl</wsdl-file> </service-ref> </web-app>
  2. Similarly double click geronimo-web.xml and add the following code: solidgeronimo-web.xml <?xml version="1.0" encoding="UTF-8"?> <web:web-app xmlns:dep="http://geronimo.apache.org/xml/ns/deployment-1.2" xmlns:conn="http://geronimo.apache.org/xml/ns/j2ee/connector-1.2" xmlns:name="http://geronimo.apache.org/xml/ns/naming-1.2" xmlns:ejb="http://openejb.apache.org/xml/ns/openejb-jar-2.2" xmlns:pkgen="http://openejb.apache.org/xml/ns/pkgen-2.1" xmlns:app="http://geronimo.apache.org/xml/ns/j2ee/application-2.0" xmlns:sec="http://geronimo.apache.org/xml/ns/security-2.0" xmlns:web="http://geronimo.apache.org/xml/ns/j2ee/web-2.0.1" xmlns:pers="http://java.sun.com/xml/ns/persistence" xmlns:client="http://geronimo.apache.org/xml/ns/j2ee/application-client-2.0"> <dep:environment> <dep:moduleId> <dep:groupId>org.apache.geronimo.samples.jws</dep:groupId> <dep:artifactId>Calculator</dep:artifactId> <dep:version>1.0</dep:version> <dep:type>car</dep:type> </dep:moduleId> <dep:dependencies> </dep:dependencies> </dep:environment> <context-root>/jaxws-calculator-1.0</context-root> <service-ref> <service-ref-name>services/Calculator</service-ref-name> <port> <port-name>CalculatorPort</port-name> <protocol>http</protocol> <host>localhost</host> <port>8080</port> <uri>/jaxws-calculator/calculator</uri> </port> </service-ref> </web:web-app>

Deploy and Run

  1. Right click on jaxws-calculator project. Select Run As -> Run On Server.


  2. On the next window select Apache Geronimo V2.2 and Select Finish.


  3. Once the application is deployed on the server launch a browser and run the following URL http://localhost:8080/jaxws-calculator-1.0/index.jsp.


  4. Give the values as 5 and 7 and then select the = button:


  5. The result is 12 as shown in the figure: